Cristine's Nightmare
2 posters
Page 1 of 3
Page 1 of 3 • 1, 2, 3 
 Cristine's Nightmare
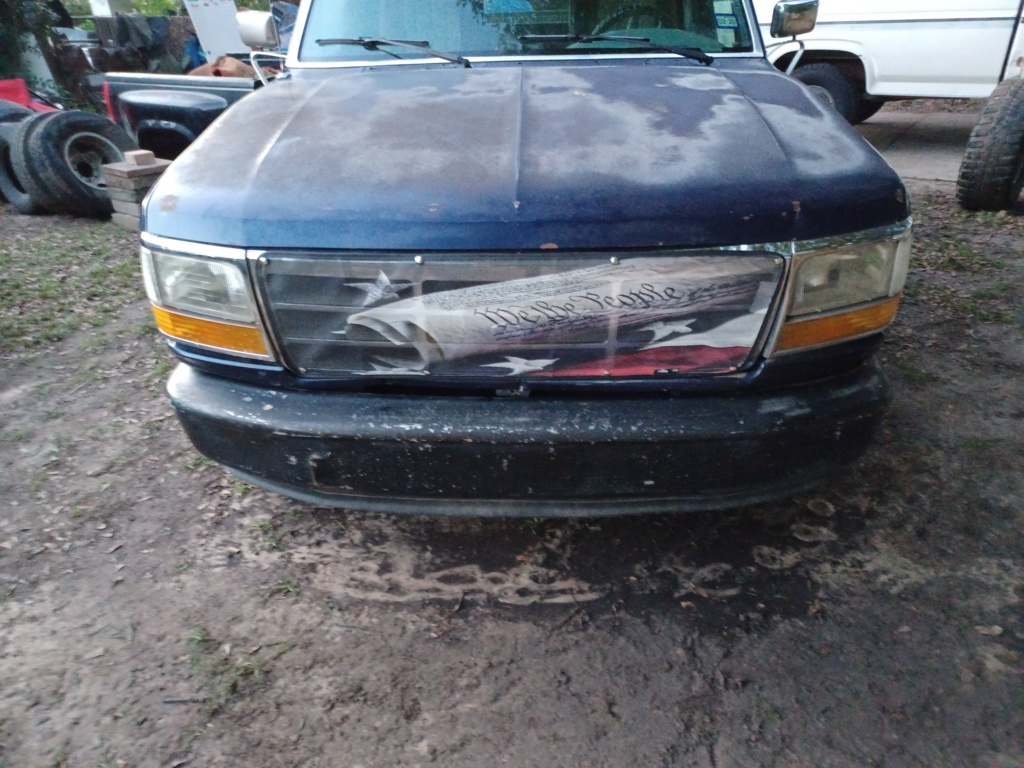
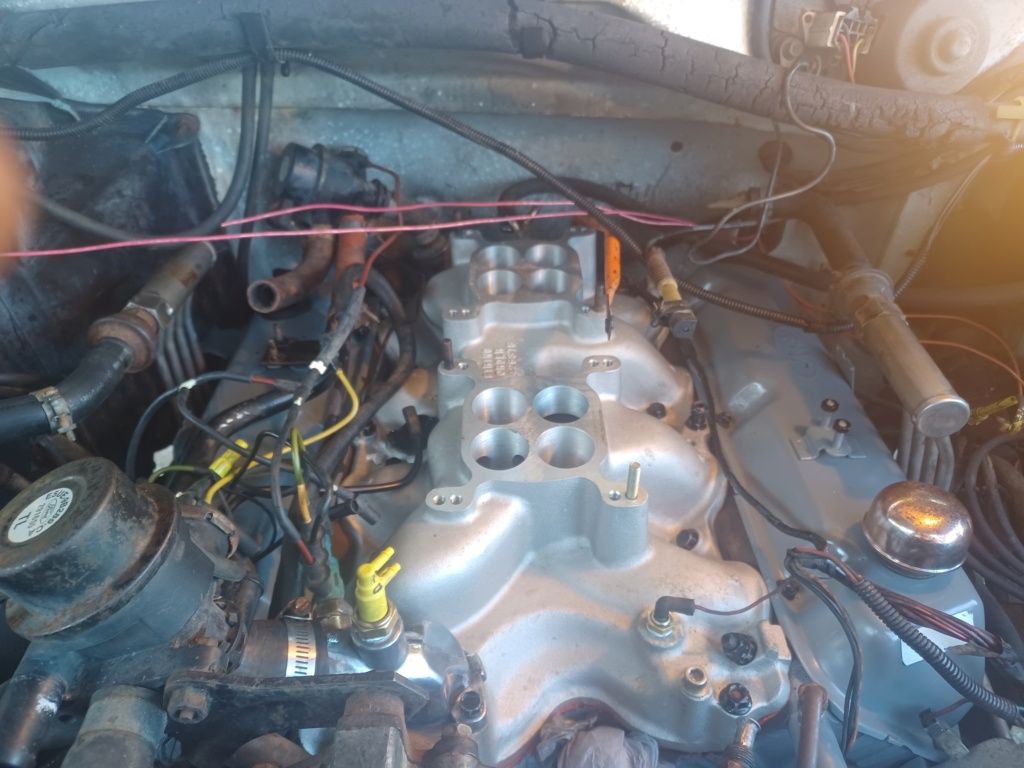
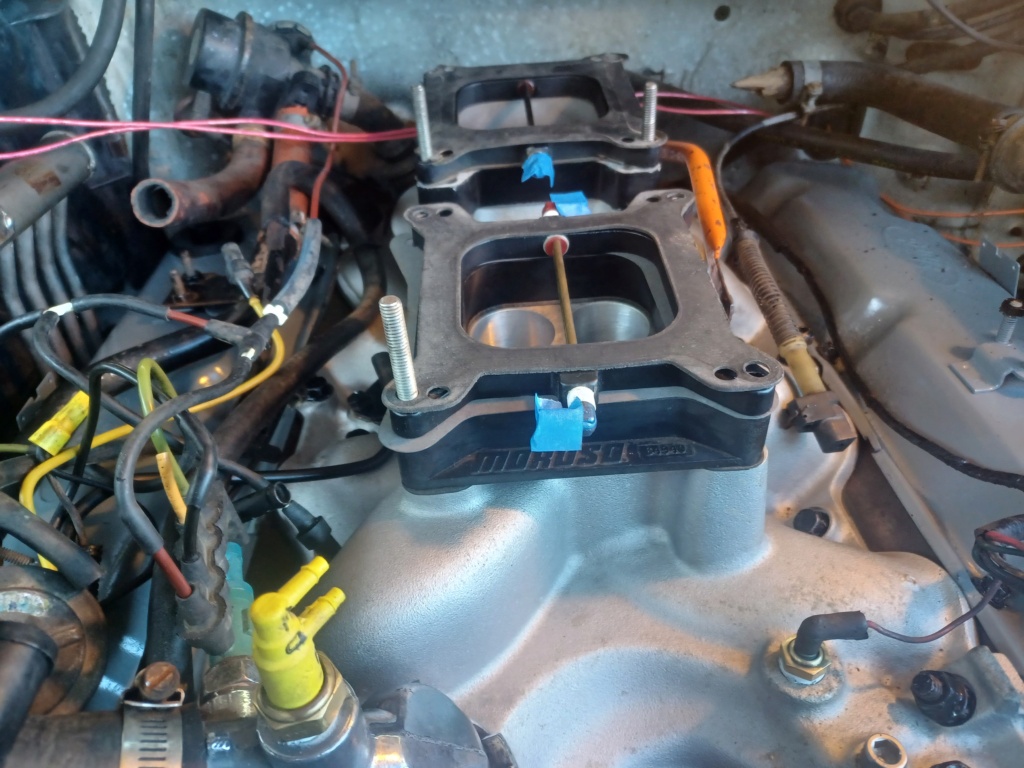
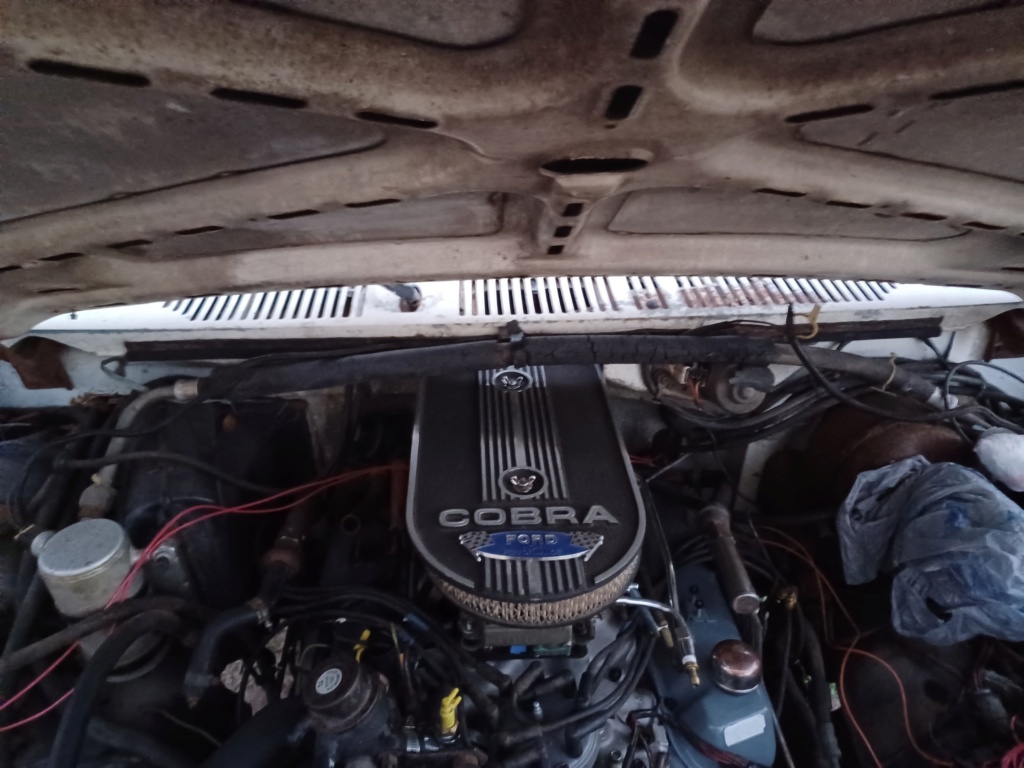
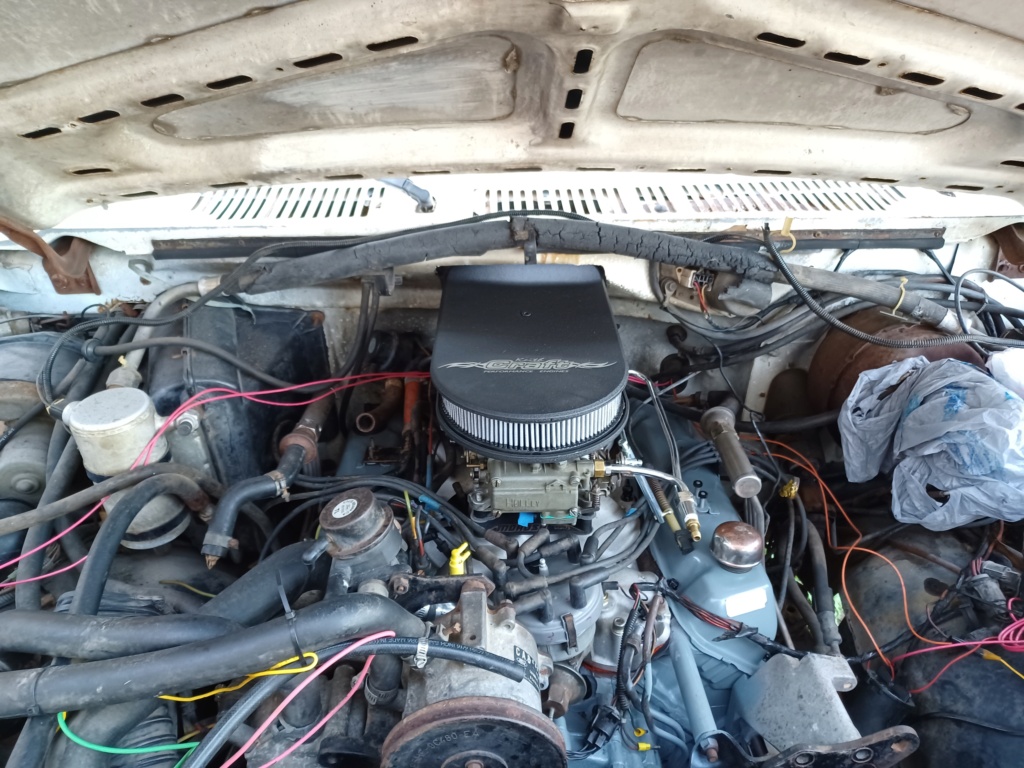
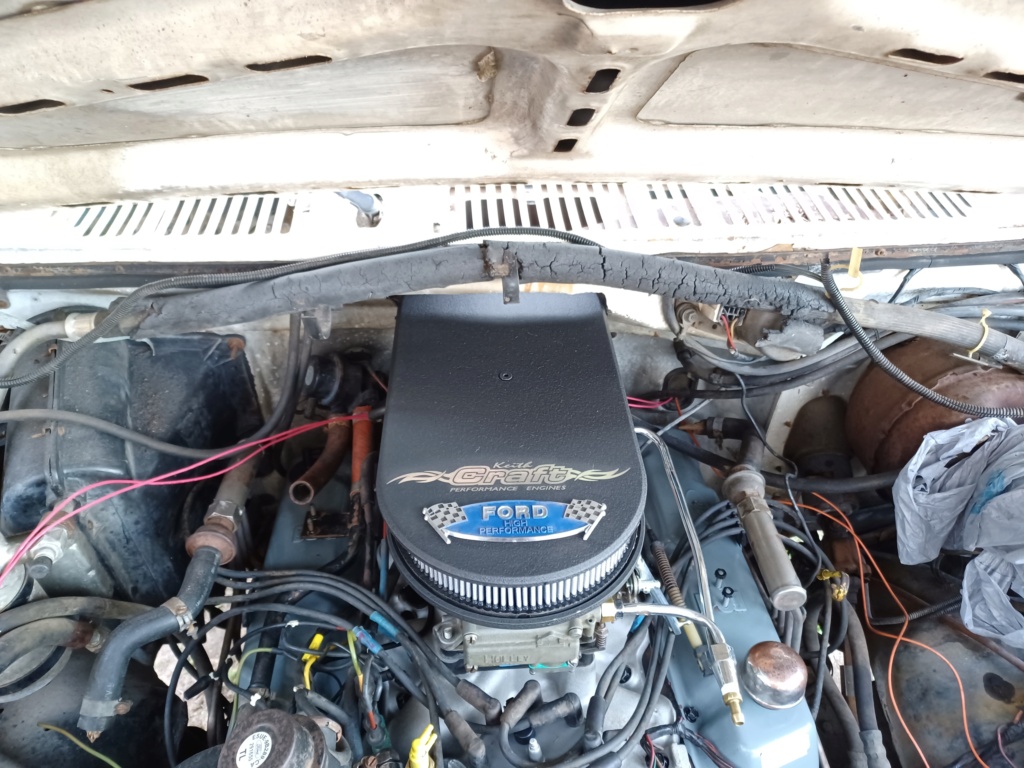
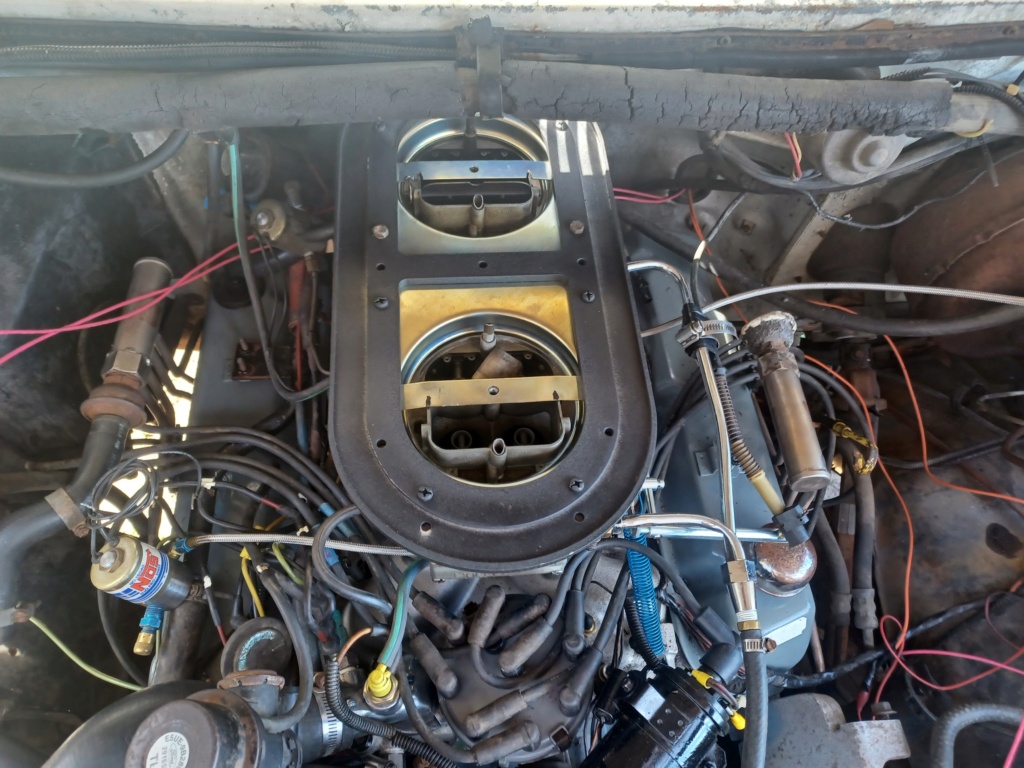
She's Alive Again with 1,200 Cfm and Two Big Shot Plates, worth Over 600 HP of Joy Juice! 
The Engine in Her Now is the Stocker and will be Used to Get Everything Lined Out Before the Good Mill goes In.
Pictures Hopefully Coming Soon.
The Engine in Her Now is the Stocker and will be Used to Get Everything Lined Out Before the Good Mill goes In.
Pictures Hopefully Coming Soon.
supervel45- Posts : 4498
Join date : 2013-09-04
supervel45- Posts : 4498
Join date : 2013-09-04
BigBlockRanger and Mark Miller like this post
supervel45- Posts : 4498
Join date : 2013-09-04
BigBlockRanger and Mark Miller like this post
 Re: Cristine's Nightmare
Yes I Do, And Maybe Smoke on the Water Too! 
https://www.youtube.com/watch?v=YkADj0TPrJA
Can You Hit the Record on a Phone Duct Taped to a Rear Window if you are Too Redneck for Go Blow/Pro?
These Questions and Many More will be Revealed in the Next Episode of So--a--//? If You Know the Answer You Might be Ol--------. No Problem
We Shall See What goes on in Medico as They say in This Part of Tejas
https://www.youtube.com/watch?v=YkADj0TPrJA
Can You Hit the Record on a Phone Duct Taped to a Rear Window if you are Too Redneck for Go Blow/Pro?
These Questions and Many More will be Revealed in the Next Episode of So--a--//?
We Shall See What goes on in Medico as They say in This Part of Tejas
supervel45- Posts : 4498
Join date : 2013-09-04
 Re: Cristine's Nightmare
And the Replacement Parts Eventiually.
Sanderson F! I Believe 1 7/8" CJ Port Ceramic Coated. 3 Bills Plus the Ride, FleeBay.
2 1/2" Pipes and Muffs Aluminized. Donated Takeoff's. So I Guess They are as Free as It Gets.

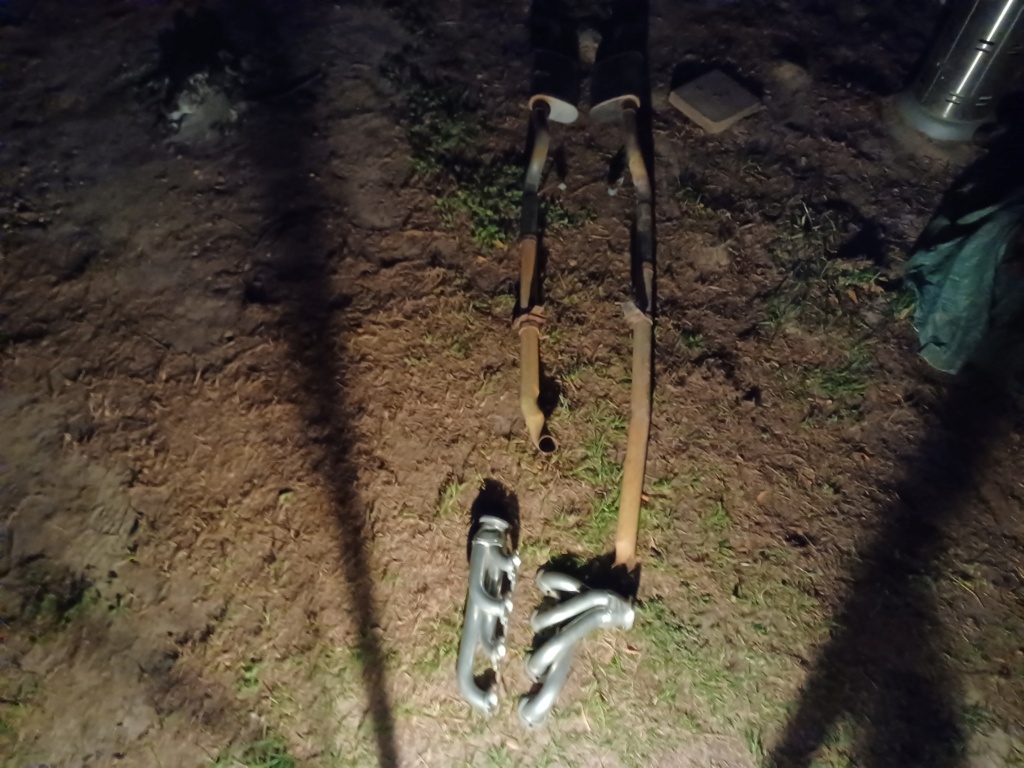
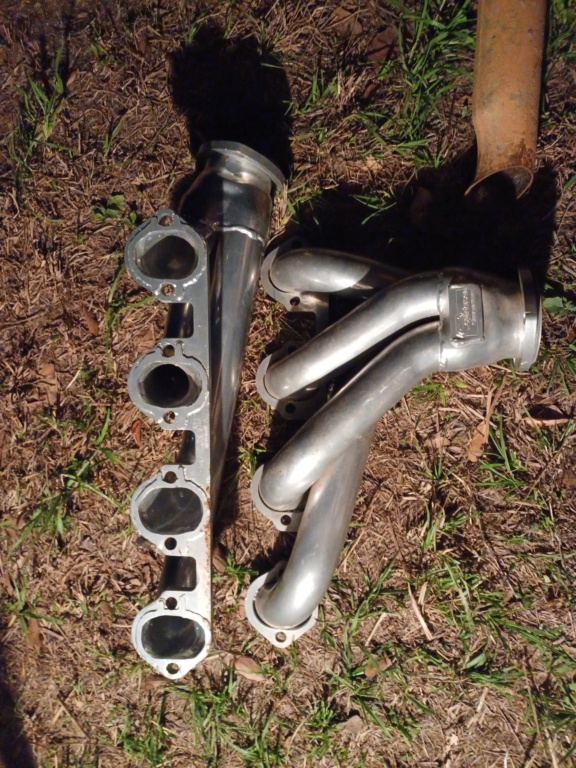


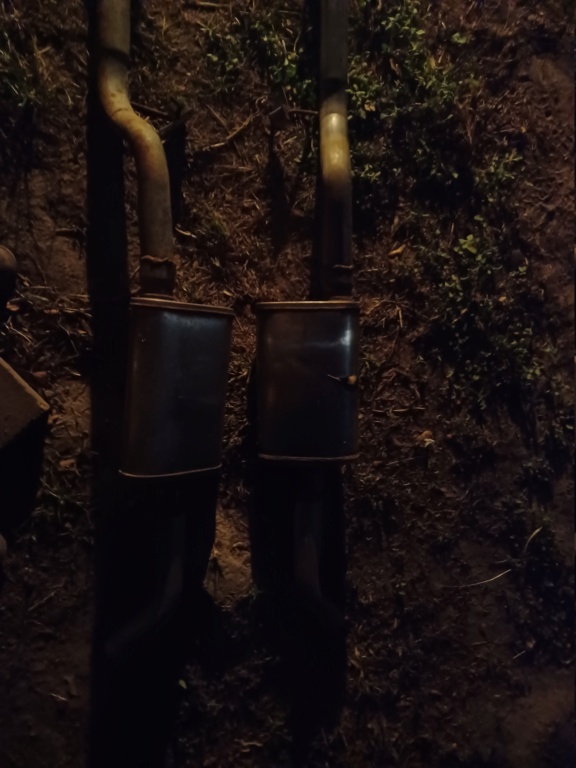
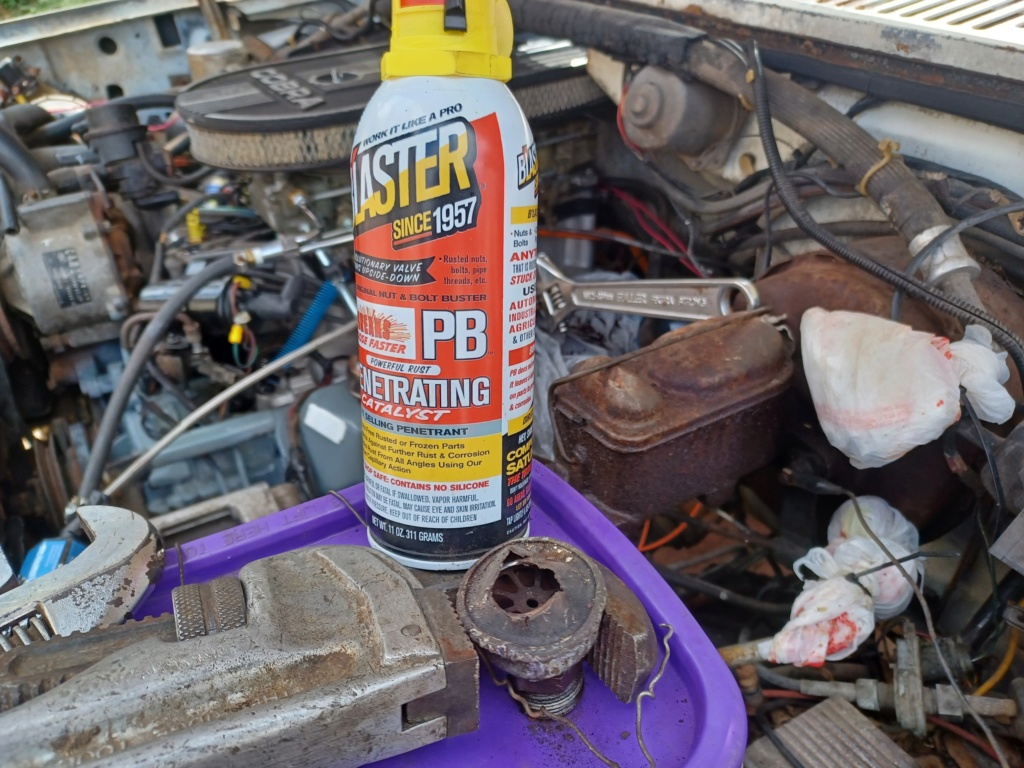
I will get The Rusty Bolts Hot Running It, and Spray them Down with Penetrating Oil for a while, before having a go at them I believe.
Sanderson F! I Believe 1 7/8" CJ Port Ceramic Coated. 3 Bills Plus the Ride, FleeBay.
2 1/2" Pipes and Muffs Aluminized. Donated Takeoff's. So I Guess They are as Free as It Gets.


I will get The Rusty Bolts Hot Running It, and Spray them Down with Penetrating Oil for a while, before having a go at them I believe.
supervel45- Posts : 4498
Join date : 2013-09-04
 Converting Dual Quad Linkage to Progressive Primary Rear Carburetor
The Cheap Easy Way.
Start with This Kit.
https://www.ebay.com/itm/253019123208?hash=item3ae91d6e08:g:Lu0AAOSwOFddQPZr&amdata=enc%3AAQAIAAABIK4OY49mG4jznOqXsdF%2B41S7q34rQ1PRWNbWg%2BQssNsc4mGck3cgvZ149jjzSDJDl%2FkeUL8%2Fhoy5Qq8omiYyhoFepReOcVWYE%2Fea3bQoK%2FfbOVqDRe58Q9RAZBcN8TtBmwK16tiHMcuiMSJnHBi4a%2B0VGmyCEU8aCH%2FpOHCVDvvXIskkJjDEwVATEwRpilRHRTZ7ktWpLsfvCZnUmHDJTZqMMoU0nnEFrEVj3YEgqf%2FZjWeR47VfmR0S%2BE6kyk9YvWaO9eRdh63XaiLu2YUesNtsMzxKKe8kzEiRsv6DCeOGoyCFdgdO0YLAdOYvDwnW3cOhvzZJ5nL%2FM0BKo6I1uDNpwjkkAXCLbXUzdh7lCms82nP2Y0Dj3EnO%2BLO5Op8otA%3D%3D%7Ctkp%3ABk9SR5Tc6NXsYg
Go to the Local Hardware Store and Buy a 2 to 3 Buck 1/4" Collar with an Allen Head Set Screw.
Move the Front Carburetor Linkage Connection to the Lower Hole and Loose the Aluminum Spacer that Usually goes in the Large Top Hole. You can Shim the Slack with washers if you Like.
Put 1/4 Collar in Front of Linkage Attachment Arm the Distance you would Like before it will Open the Throttle on the Secondary Front Carburetor. Lock the Set Screw.
Check Operation and for Binding. Done.
V Note on the First Picture Below, The Linkage Arm is Still in The Upper Hole with The Collar Set For Progressive. You Will NOT GET Full Throttle on the Secondary Carburetor because of The Geometory.
You Can Slide the Collar All the way Back to the Linkage Arm Though, and Not Use The Set Screw That Goes in it, {Linkage Arm} That Comes in The Kit. The Catch With it is if Someting Binds the Carburetor, the Return Spring will NOT Pull it Closed, Just Like When it is Setup For Progressive.
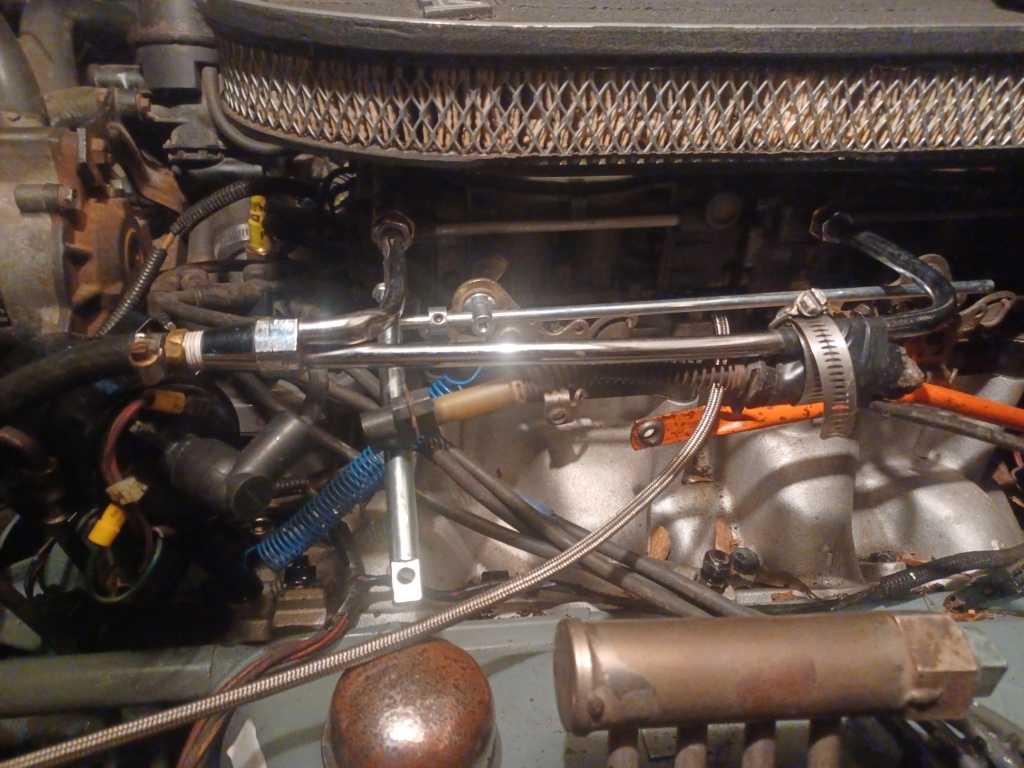

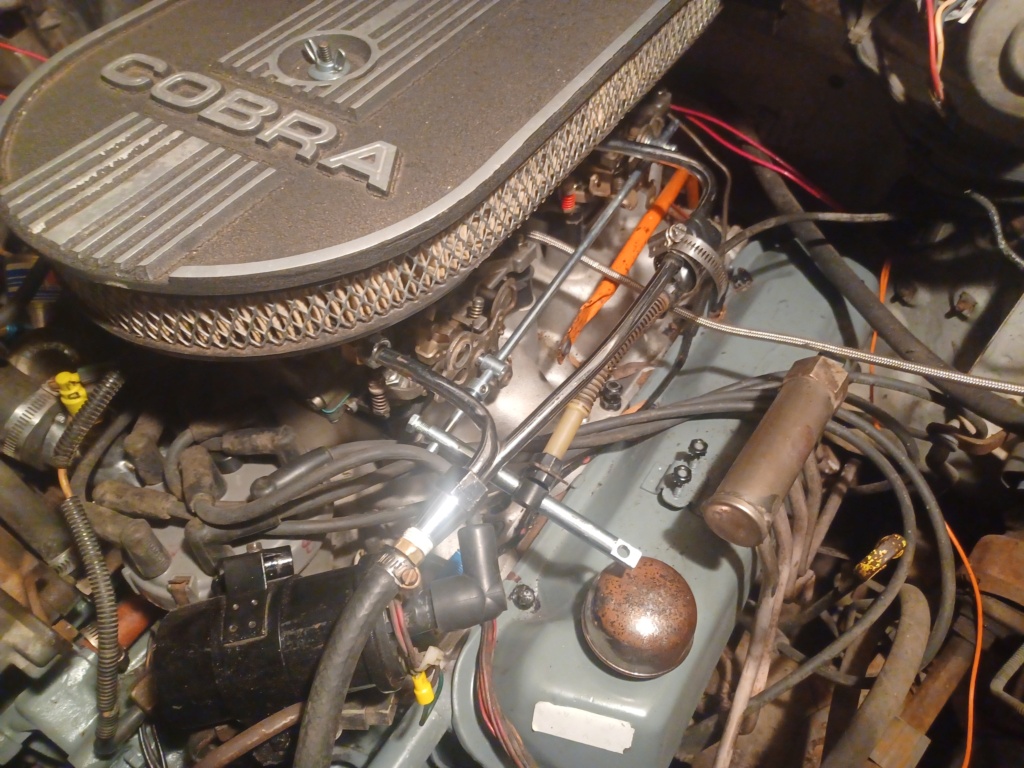
For The Price of These Kits, I Believe it is the Most Bang for the Buck Out There.
I Have Used The Edelbrock Kit on my Last Dual Quad Setup. It was Nice Also but, The Price Back Then was 27 or so Bucks. They are Much Higher Now I Believe and Don't Do Anything More than This Kit does that I can See.
Start with This Kit.
https://www.ebay.com/itm/253019123208?hash=item3ae91d6e08:g:Lu0AAOSwOFddQPZr&amdata=enc%3AAQAIAAABIK4OY49mG4jznOqXsdF%2B41S7q34rQ1PRWNbWg%2BQssNsc4mGck3cgvZ149jjzSDJDl%2FkeUL8%2Fhoy5Qq8omiYyhoFepReOcVWYE%2Fea3bQoK%2FfbOVqDRe58Q9RAZBcN8TtBmwK16tiHMcuiMSJnHBi4a%2B0VGmyCEU8aCH%2FpOHCVDvvXIskkJjDEwVATEwRpilRHRTZ7ktWpLsfvCZnUmHDJTZqMMoU0nnEFrEVj3YEgqf%2FZjWeR47VfmR0S%2BE6kyk9YvWaO9eRdh63XaiLu2YUesNtsMzxKKe8kzEiRsv6DCeOGoyCFdgdO0YLAdOYvDwnW3cOhvzZJ5nL%2FM0BKo6I1uDNpwjkkAXCLbXUzdh7lCms82nP2Y0Dj3EnO%2BLO5Op8otA%3D%3D%7Ctkp%3ABk9SR5Tc6NXsYg
Go to the Local Hardware Store and Buy a 2 to 3 Buck 1/4" Collar with an Allen Head Set Screw.
Move the Front Carburetor Linkage Connection to the Lower Hole and Loose the Aluminum Spacer that Usually goes in the Large Top Hole. You can Shim the Slack with washers if you Like.
Put 1/4 Collar in Front of Linkage Attachment Arm the Distance you would Like before it will Open the Throttle on the Secondary Front Carburetor. Lock the Set Screw.
Check Operation and for Binding. Done.
V Note on the First Picture Below, The Linkage Arm is Still in The Upper Hole with The Collar Set For Progressive. You Will NOT GET Full Throttle on the Secondary Carburetor because of The Geometory.
You Can Slide the Collar All the way Back to the Linkage Arm Though, and Not Use The Set Screw That Goes in it, {Linkage Arm} That Comes in The Kit.


For The Price of These Kits, I Believe it is the Most Bang for the Buck Out There.
I Have Used The Edelbrock Kit on my Last Dual Quad Setup. It was Nice Also but, The Price Back Then was 27 or so Bucks. They are Much Higher Now I Believe and Don't Do Anything More than This Kit does that I can See.
supervel45- Posts : 4498
Join date : 2013-09-04
 Re: Cristine's Nightmare
I May have Inadvertly Lied, Almost Forgot I Had This.
I Highly Doubt NHRA will Approve Once It's Cut and Stretched to Fit. SO as in "Street Outlaws" and All, I Don't Care!
I Need The Rear to Hook For the 6 Point Harness Top Attachment and May Put in the Swing Out Side Bars and Front Pipes or Maybe Not.
I Found My Do It Your Self Cal Track Instructions. Also Forgot I Printed Them Out and Put Them in The Glove Box of the F150 all This was Supposed to go Into That I Decided was Too Nice, Ran Too Good, and Got Good Gas Mileage, 300 Cid and All to Rod Out.
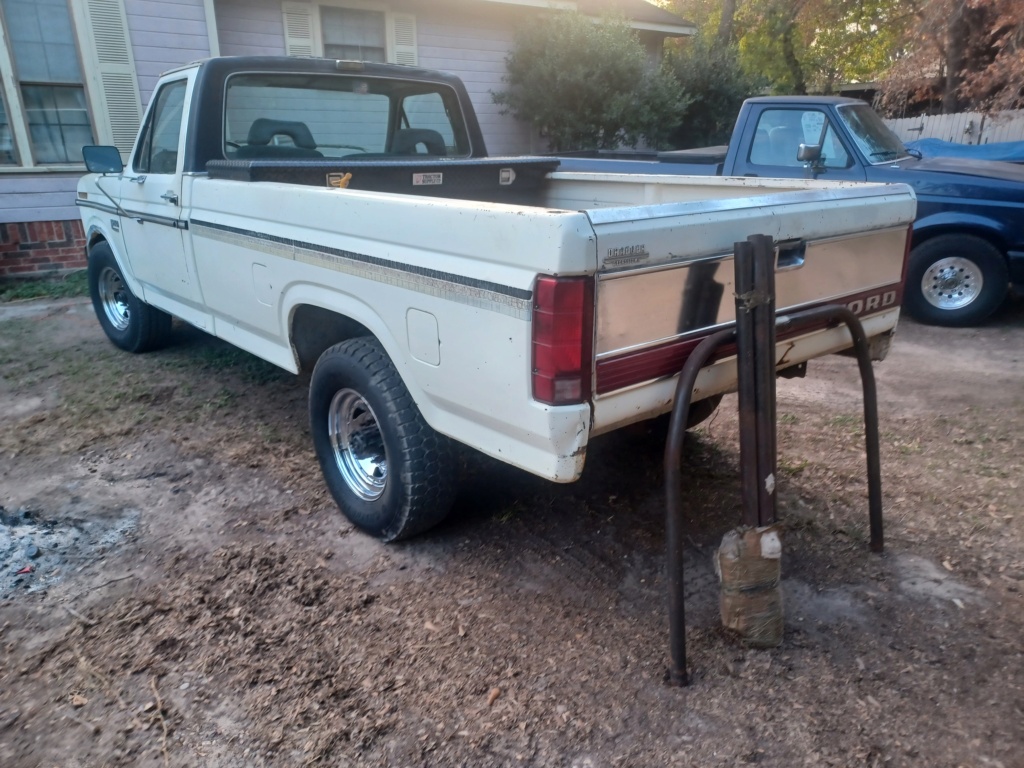
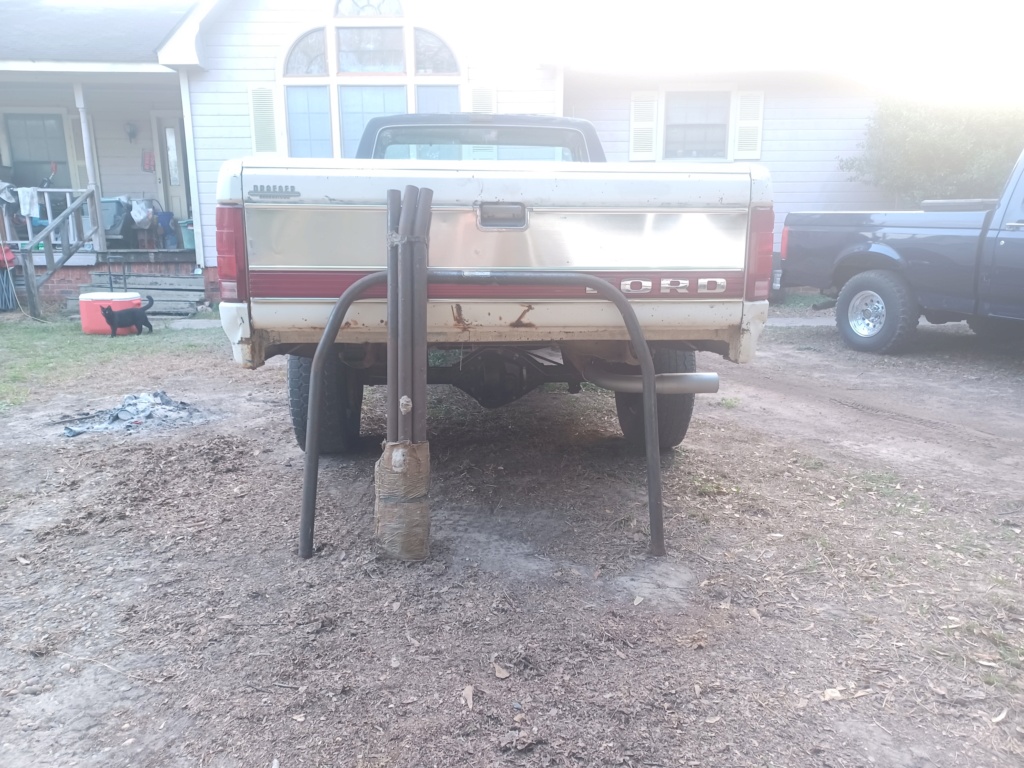 [/
[/
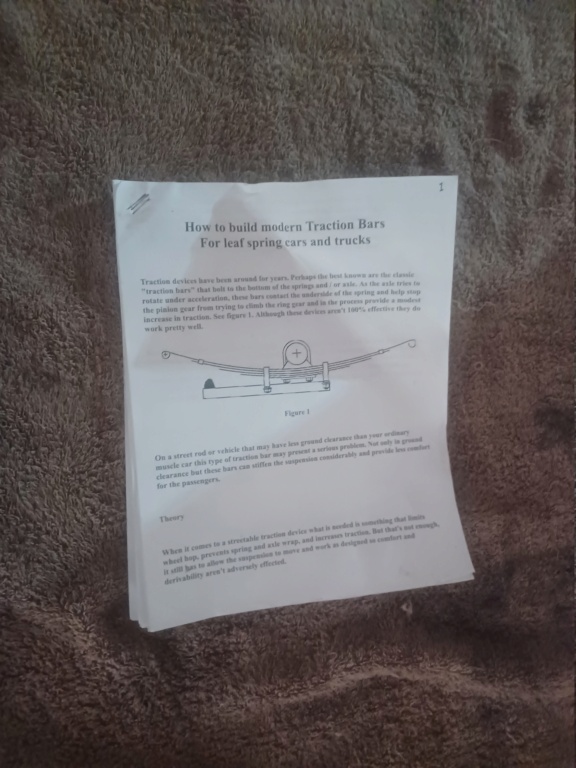
^ And to Give the Homemade Cal Trac's a Hand This Should Help.
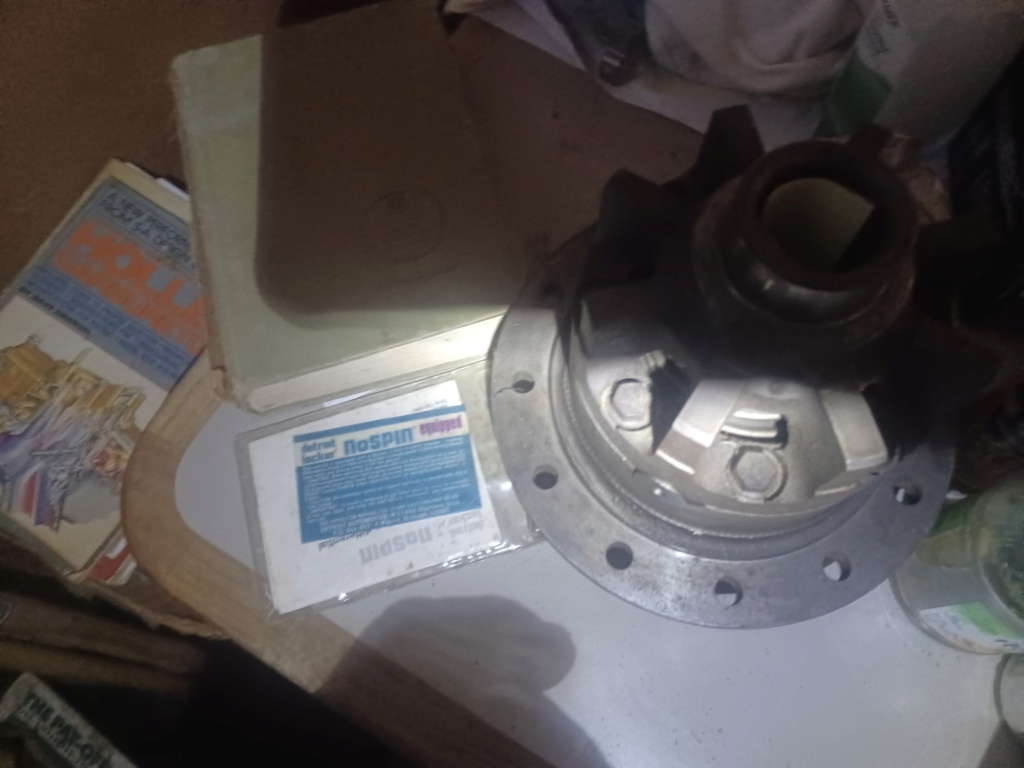
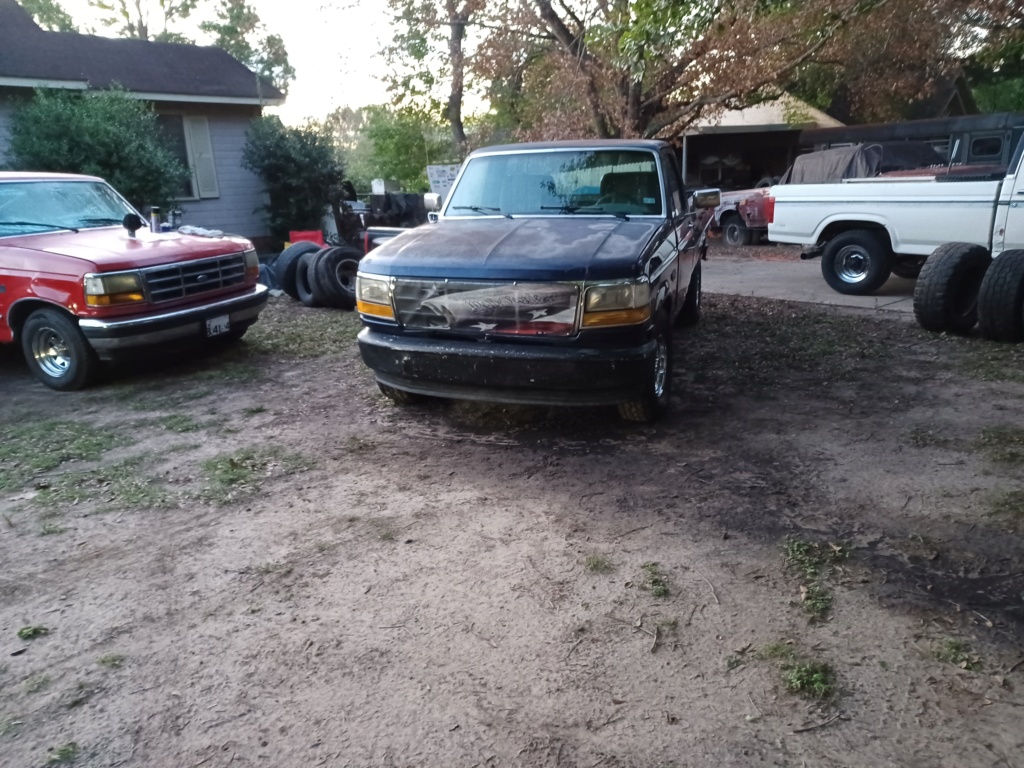
America! Ain't She Great.
Land of The Free Home of The Brave
I Highly Doubt NHRA will Approve Once It's Cut and Stretched to Fit. SO as in "Street Outlaws" and All, I Don't Care!
I Need The Rear to Hook For the 6 Point Harness Top Attachment and May Put in the Swing Out Side Bars and Front Pipes or Maybe Not.
I Found My Do It Your Self Cal Track Instructions. Also Forgot I Printed Them Out and Put Them in The Glove Box of the F150 all This was Supposed to go Into That I Decided was Too Nice, Ran Too Good, and Got Good Gas Mileage, 300 Cid and All to Rod Out.

 [/
[/
^ And to Give the Homemade Cal Trac's a Hand This Should Help.


America! Ain't She Great.
Land of The Free Home of The Brave
supervel45- Posts : 4498
Join date : 2013-09-04
 Down The Road for the 472PI More Carburetion
Offenhauser makes Both Side Mount Dual Quad and Inline 4150 {Dual Metering Blocks} Adaptor Plates.
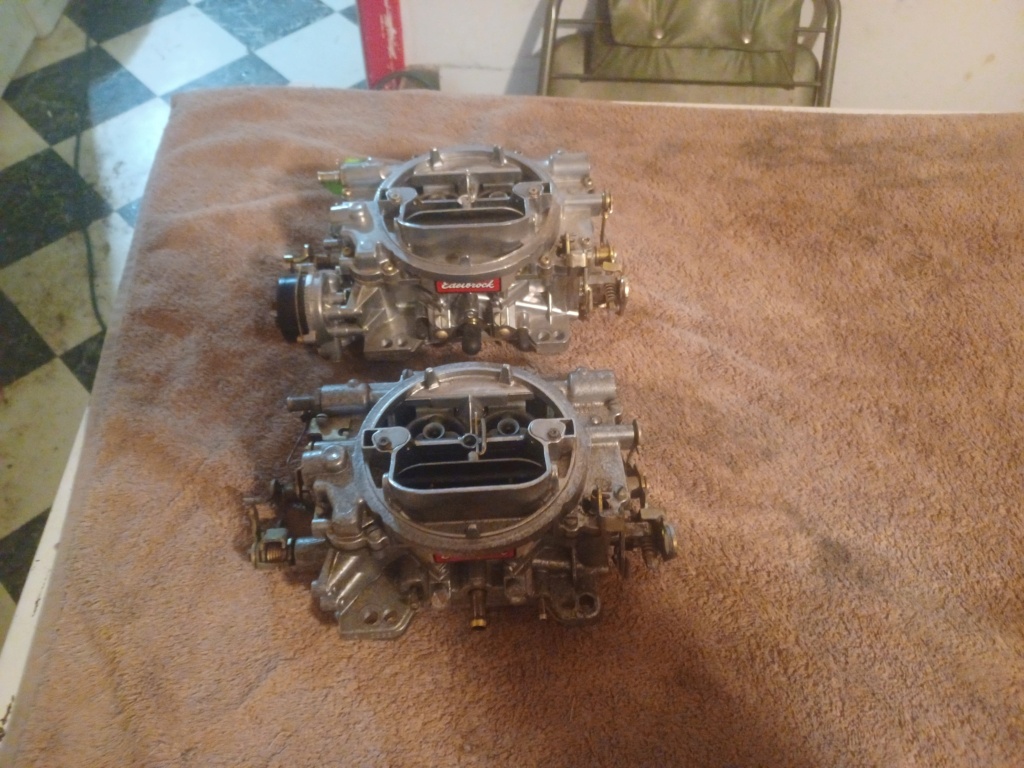
780VS With Dual Metering Blocks and{Down Leg Boosters} can be Converted to Metering Plates for use Without Adaptors. I did a Pair for a Members 521 with the Old Ford Power Parts Version of the Blue Thunder Intake he Aquired on Racing Junk.
The Holley List #4224 660Cfm Center Squirters Slap right on, as they are 4160's.
Their Old Discontinued Big Brother List #4223 850Cfm Not So Much as They are 4150's.
^ Yes They Likely Could be Converted to Metering Plates as They Don't Have a Rear Accelerator Pump.
I Like to be a Little Different, and Sidemount Holley's on a Dual Quad Non Tunnel Ram is Nothing New.
It Sure Looks Cool Though and is Not Seen Much These Days. Hence Why I Like It.
Here's a Custom Lazer Engraved One I had Done for The 429 Ford for Some Eye Candy.
Yes I Did a Couple of 427 Ones Also for the Bowtie Boys While I was at It. I'd Do Some 426 Hemi's Too if I Had More of the 4223's Not Sorry Either.
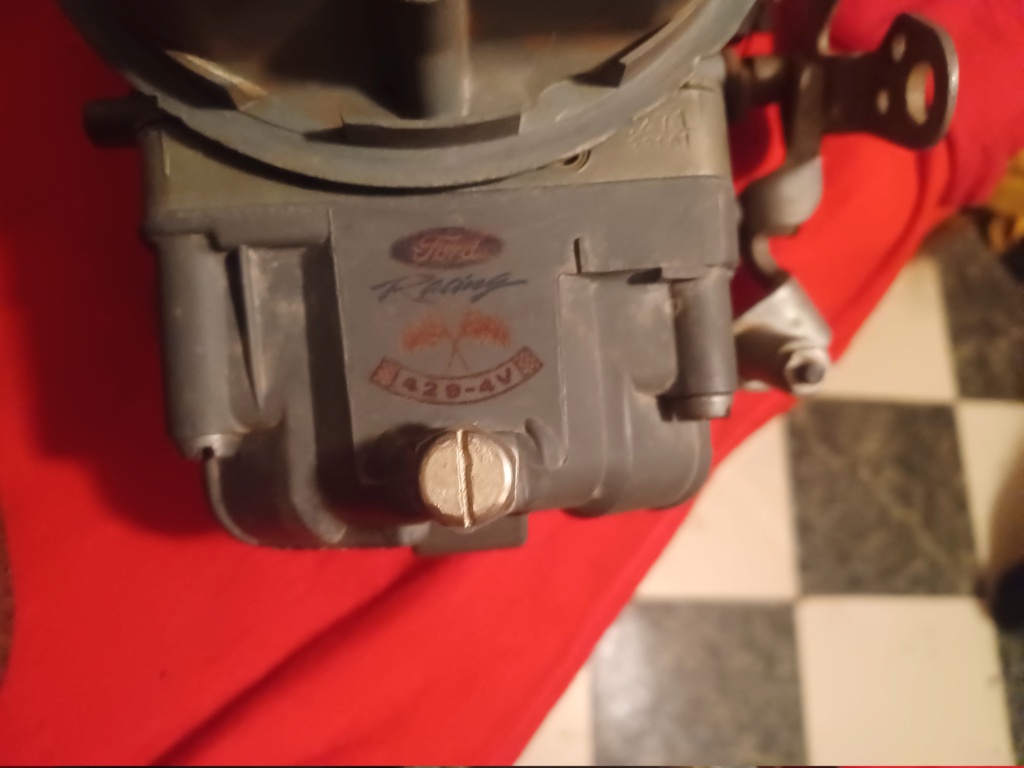
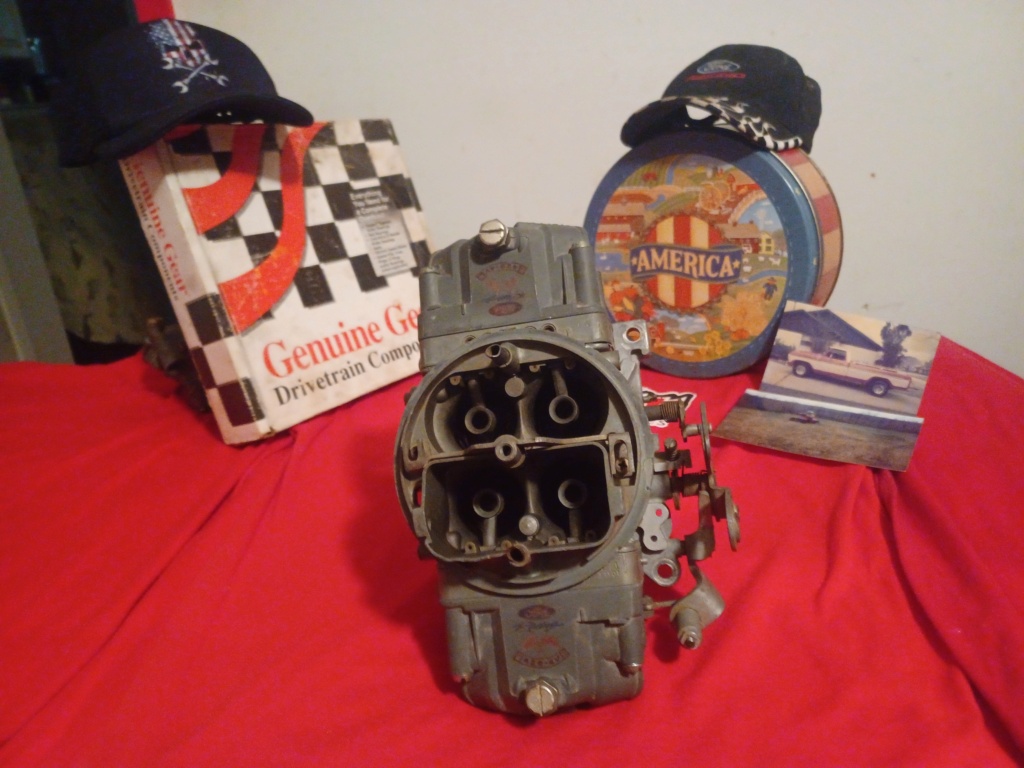
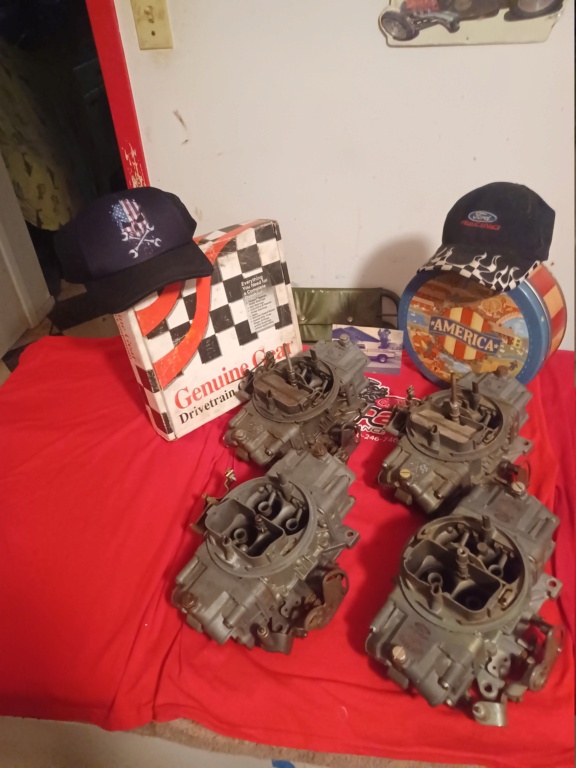
I Believe These Center Squirters Came Out Around 1967 or 68 Right Before the Last Phase of the L-88 and ZL-1 427's { Original L88, 1967 and 68 and Mid 69 Were 855VS } came out, and the First 850 Holley Factory OEM Holley 850 Double Pumper Hit the Street's of America in 1969.
I had one back a Few Years Ago that Had a Shelby American Holley List # on It {850 Center Squirter} So Ford Got in on the Action Also.
The Original Holley 3 Barrels {950 and 1050Cfm} Trace Their History to the Early 1960's Mopar Nascar Racing, Until Dodge/Plymoth/Chrysler released the Rights and Holley went over the Counter with Them.
Our Beloved Dominator's of Course Tied to the Ford Boss 429 and Nascar.
780VS With Dual Metering Blocks and{Down Leg Boosters} can be Converted to Metering Plates for use Without Adaptors. I did a Pair for a Members 521 with the Old Ford Power Parts Version of the Blue Thunder Intake he Aquired on Racing Junk.
The Holley List #4224 660Cfm Center Squirters Slap right on, as they are 4160's.
Their Old Discontinued Big Brother List #4223 850Cfm Not So Much as They are 4150's.
^ Yes They Likely Could be Converted to Metering Plates as They Don't Have a Rear Accelerator Pump.
I Like to be a Little Different, and Sidemount Holley's on a Dual Quad Non Tunnel Ram is Nothing New.
It Sure Looks Cool Though and is Not Seen Much These Days. Hence Why I Like It.
Here's a Custom Lazer Engraved One I had Done for The 429 Ford for Some Eye Candy.
Yes I Did a Couple of 427 Ones Also for the Bowtie Boys While I was at It. I'd Do Some 426 Hemi's Too if I Had More of the 4223's Not Sorry Either.


I Believe These Center Squirters Came Out Around 1967 or 68 Right Before the Last Phase of the L-88 and ZL-1 427's { Original L88, 1967 and 68 and Mid 69 Were 855VS } came out, and the First 850 Holley Factory OEM Holley 850 Double Pumper Hit the Street's of America in 1969.
I had one back a Few Years Ago that Had a Shelby American Holley List # on It {850 Center Squirter} So Ford Got in on the Action Also.
The Original Holley 3 Barrels {950 and 1050Cfm} Trace Their History to the Early 1960's Mopar Nascar Racing, Until Dodge/Plymoth/Chrysler released the Rights and Holley went over the Counter with Them.
Our Beloved Dominator's of Course Tied to the Ford Boss 429 and Nascar.
supervel45- Posts : 4498
Join date : 2013-09-04
 It's D-Day for Cristine
I Hope it's Not A Nightmare! 
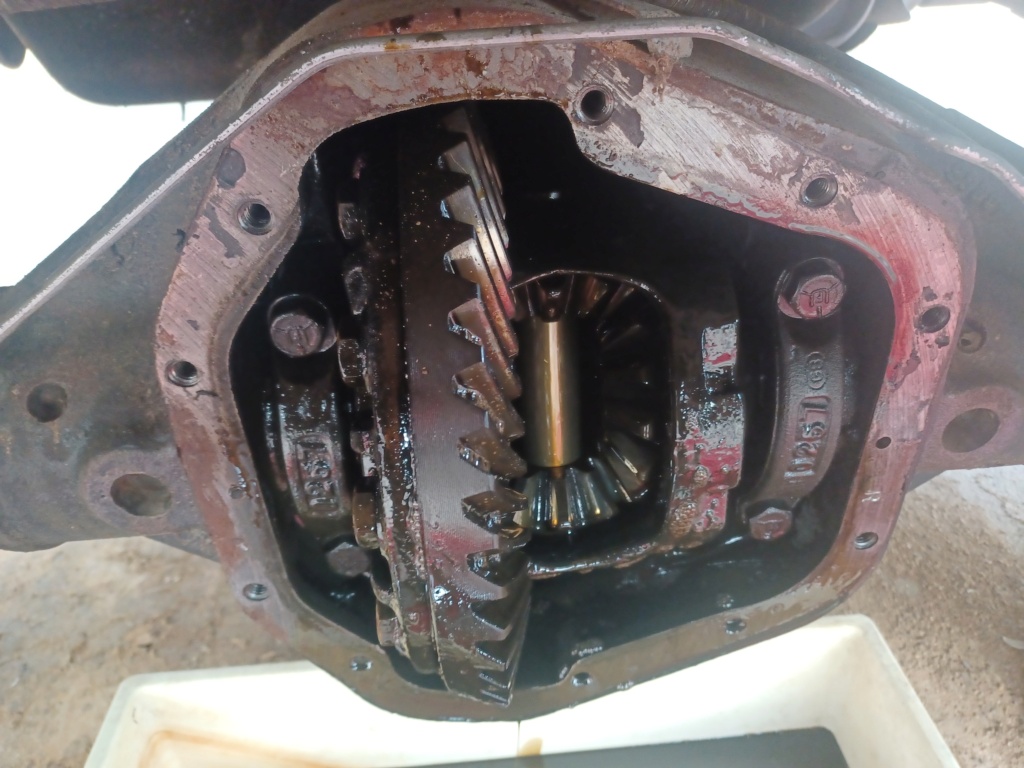
If The 3.54's Don't Fit This Carrier, She Will Be Getting 4.10's or a Custom Made Ring Gear Spacer.
After Much Much Research and Checking One (1) Other Ford Dana 70U Carrier that Came with 3.73's It Should Work for 3.54's, Going By The Ring Gear Pad Height's.

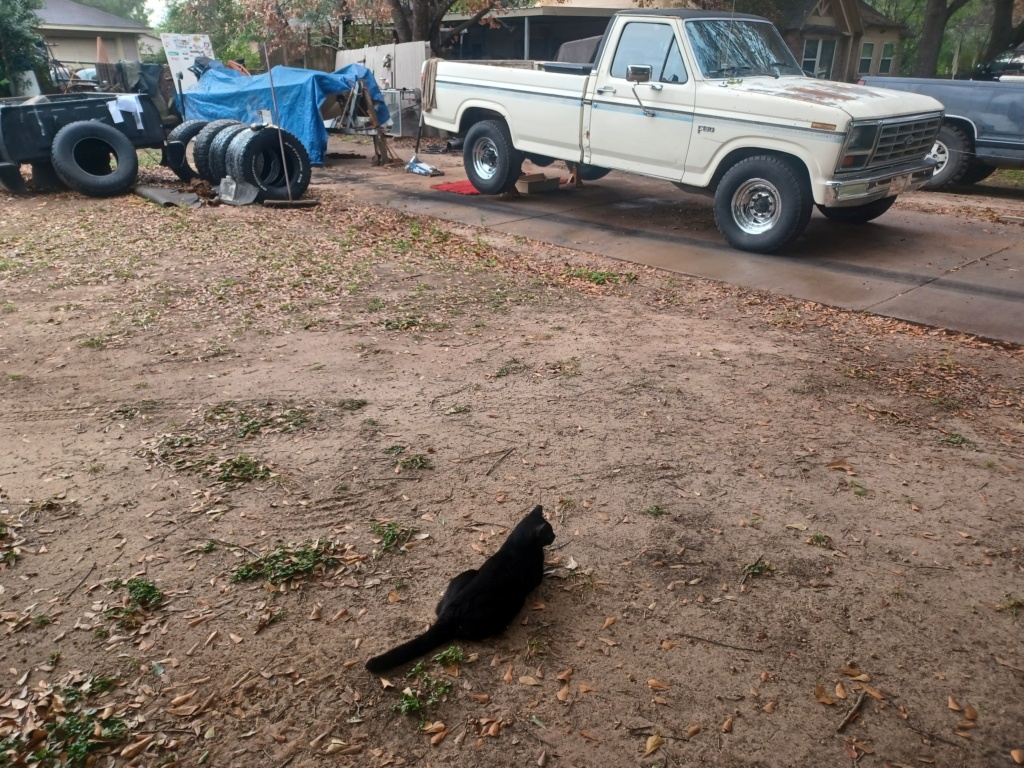
Hey Hey HeyHey We Cooking with Peanut Oil Now!
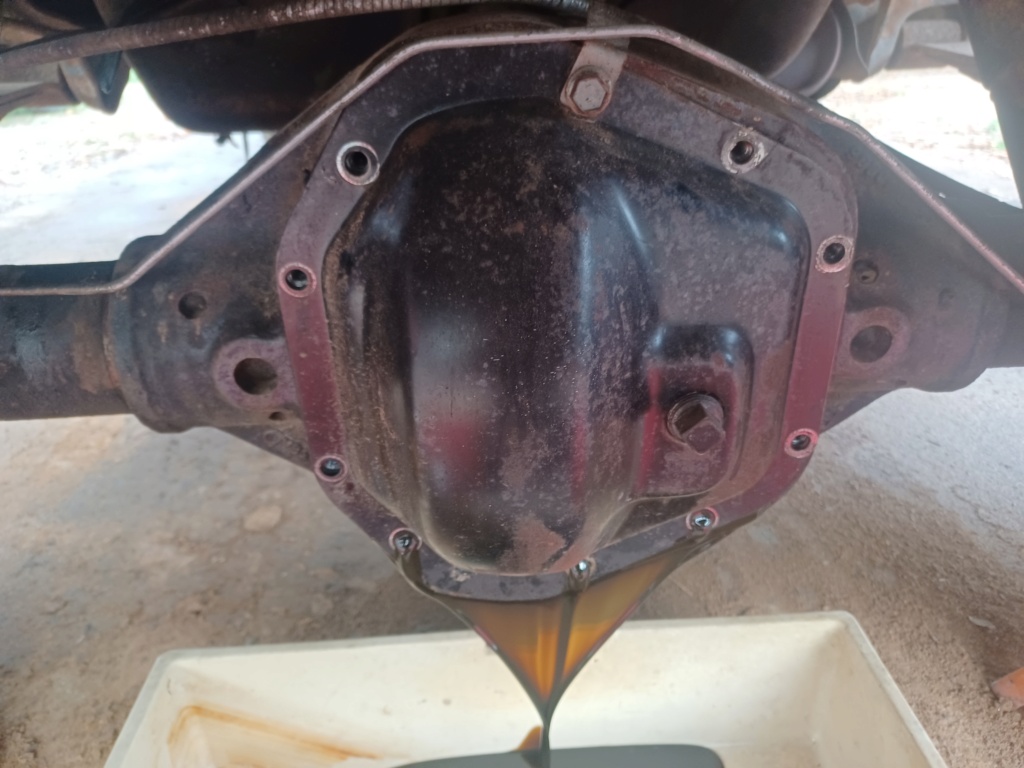
If The 3.54's Don't Fit This Carrier, She Will Be Getting 4.10's or a Custom Made Ring Gear Spacer.
After Much Much Research and Checking One (1) Other Ford Dana 70U Carrier that Came with 3.73's It Should Work for 3.54's, Going By The Ring Gear Pad Height's.


Hey Hey HeyHey We Cooking with Peanut Oil Now!


supervel45- Posts : 4498
Join date : 2013-09-04
 Cristine's D-Day Continued Part 2
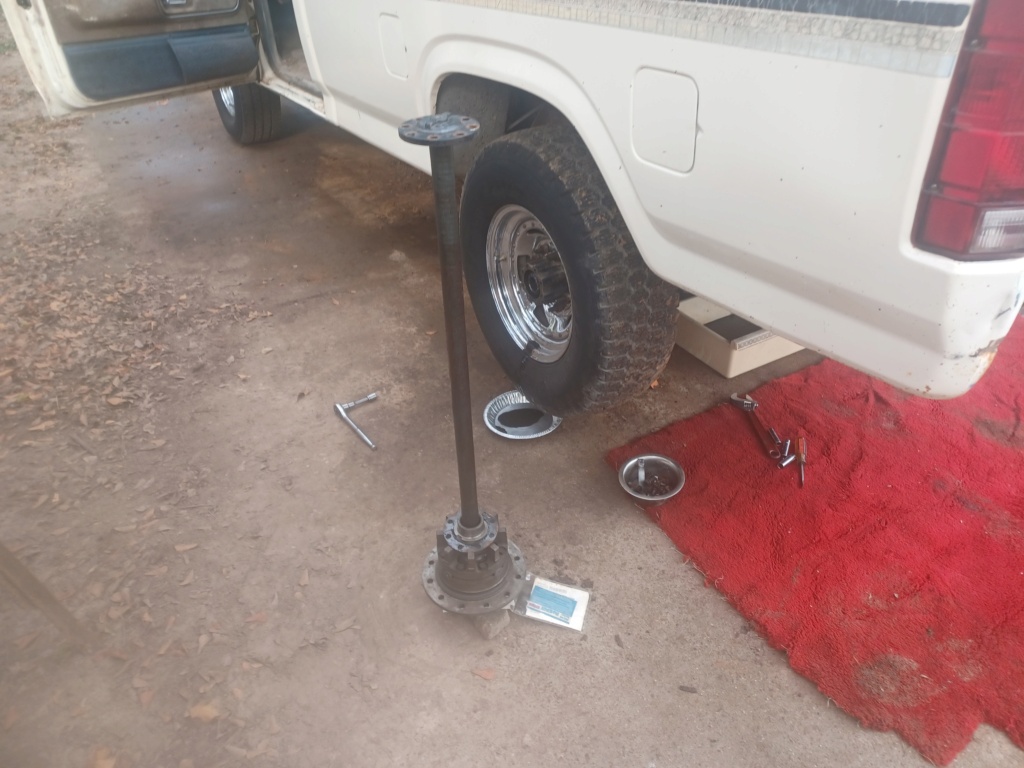
It's All Out and Apart and Going Excellent.
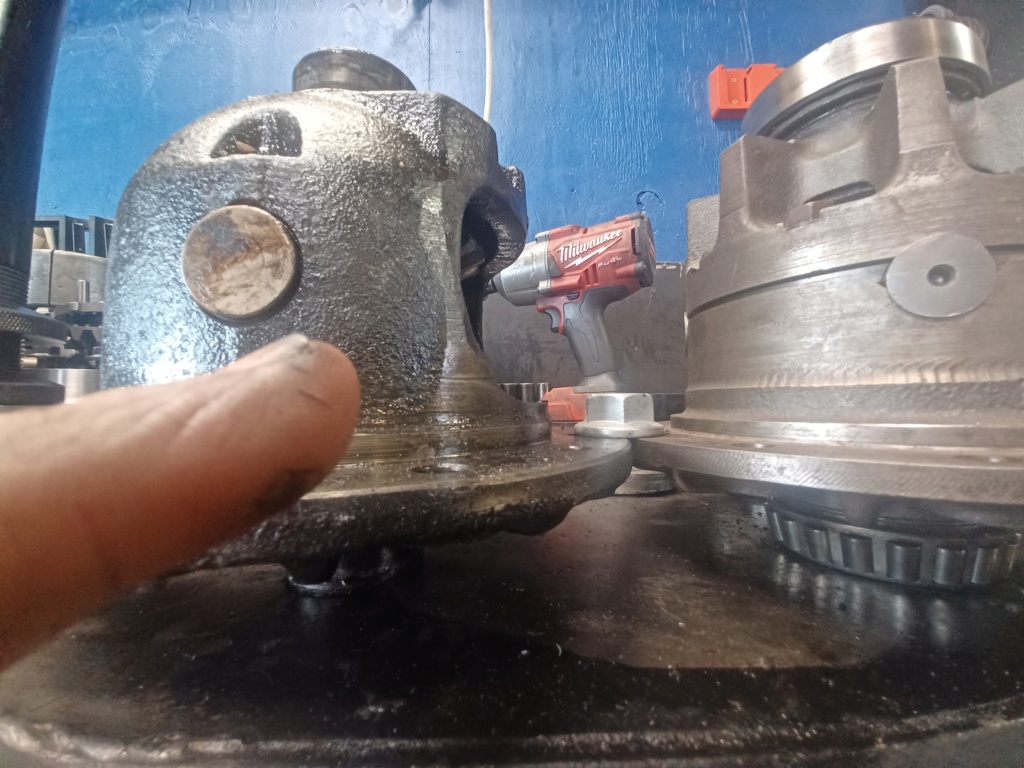
Pad Height Between the Open Carrier Very Close to the Locker.
Note Did Remove Driver's Side Bearing From the Open Carrier Yet to Compare.
I am Going to Swing by my Bud's Axle and 4X4 Shop and See if He is in a Good Mood and Might Do His Shim Magic on His Bench.
Two Dimensions is About All it Will Take. Pad Height From Driver's Bearing to a Flat Surface.
Total Height From a Flat Surface to the Top of The Passenger SideCarrier Race.
We Will See Shortly and It's Lunch Time in Texas so There's That.
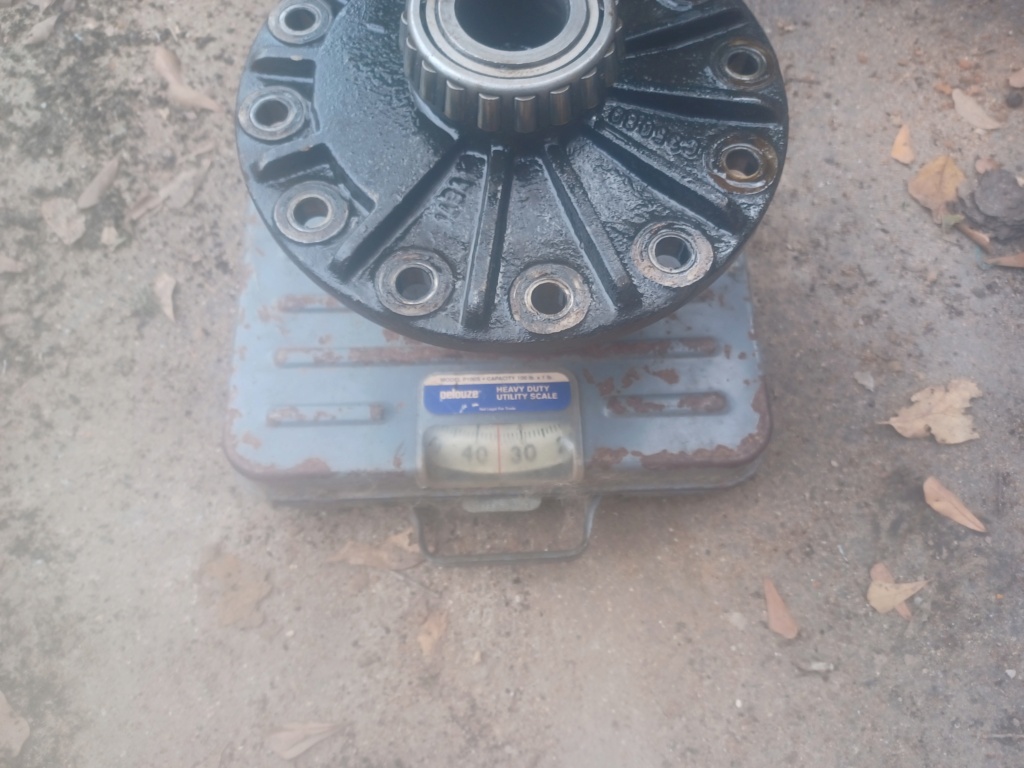
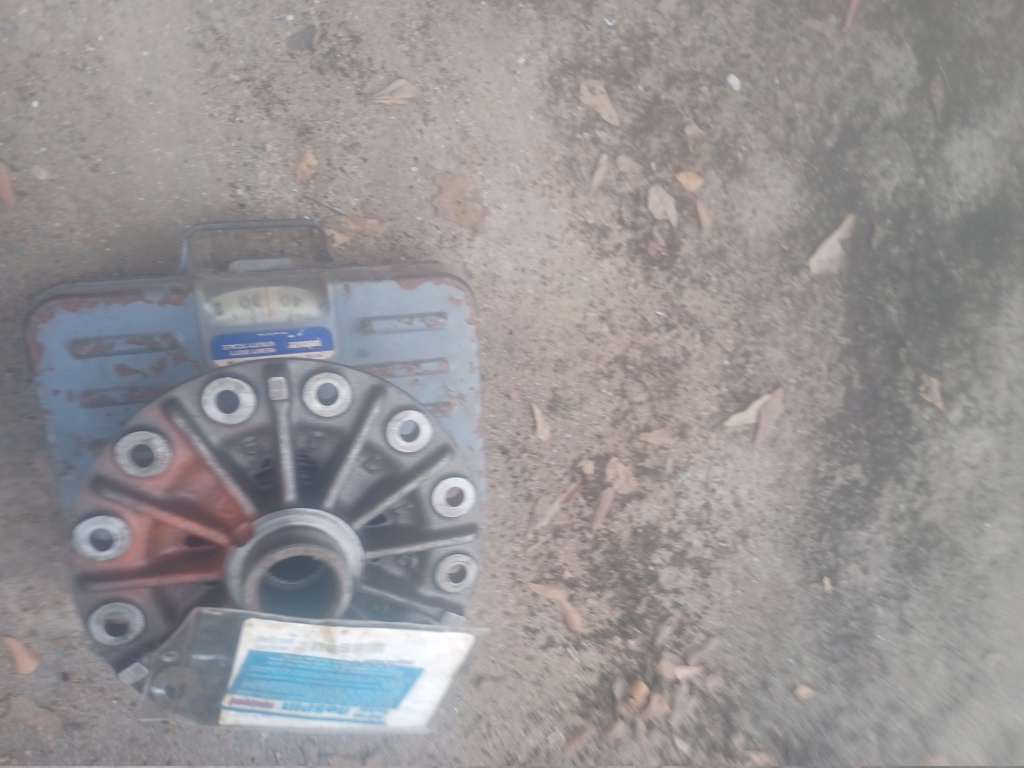
A Few More Pictures Along With The Weight of The Parts, Old and New.


supervel45- Posts : 4498
Join date : 2013-09-04
 Christine's D-Day Continued Part 2
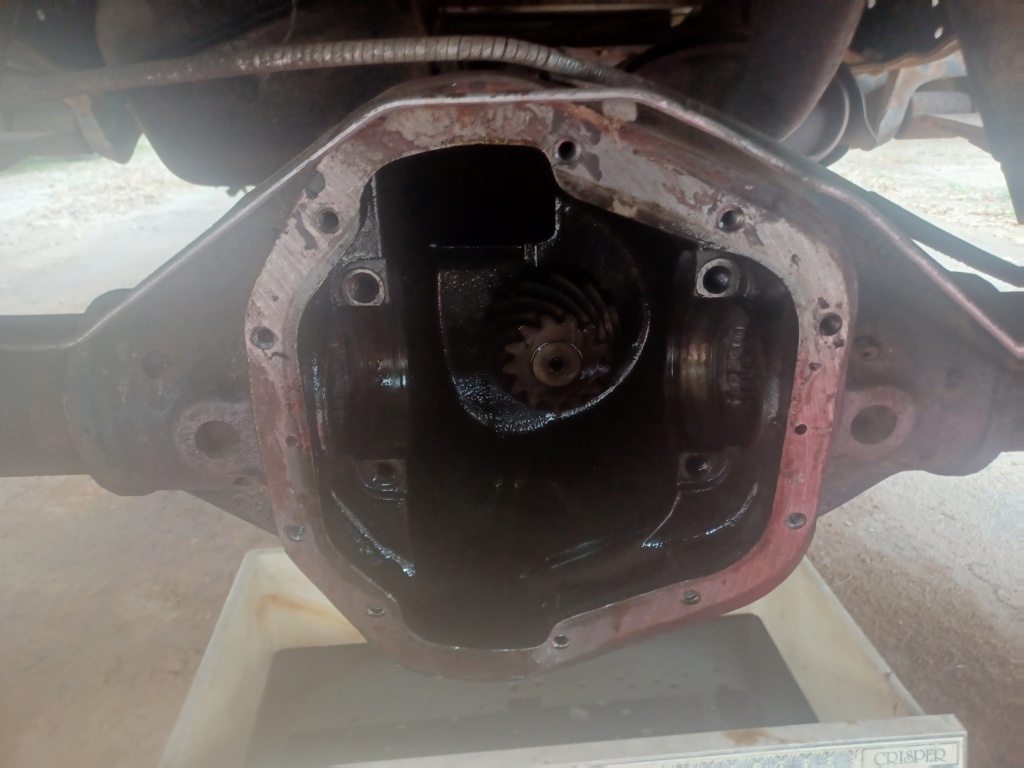
And Christine's Rear End Butt Naked! 
Well Almost the Pinion Gear is Still in Her.
This Ones Much More Appealing Then The D70 Though
https://www.etsy.com/listing/192681229/american-flag-scrunch-butt-stars-n?ga_order=most_relevant&ga_search_type=all&ga_view_type=gallery&ga_search_query=flag+scrunch+butt&ref=sr_gallery-1-16&frs=1&organic_search_click=1
Well Almost the Pinion Gear is Still in Her.

This Ones Much More Appealing Then The D70 Though
https://www.etsy.com/listing/192681229/american-flag-scrunch-butt-stars-n?ga_order=most_relevant&ga_search_type=all&ga_view_type=gallery&ga_search_query=flag+scrunch+butt&ref=sr_gallery-1-16&frs=1&organic_search_click=1
supervel45- Posts : 4498
Join date : 2013-09-04
 Re: Cristine's Nightmare
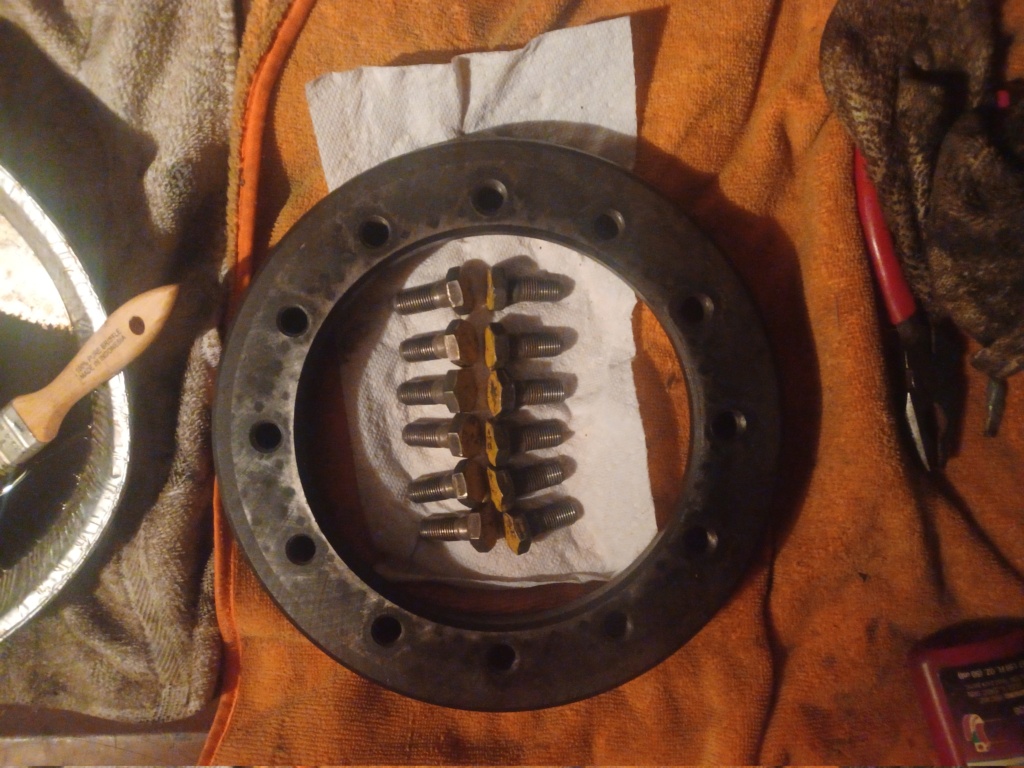
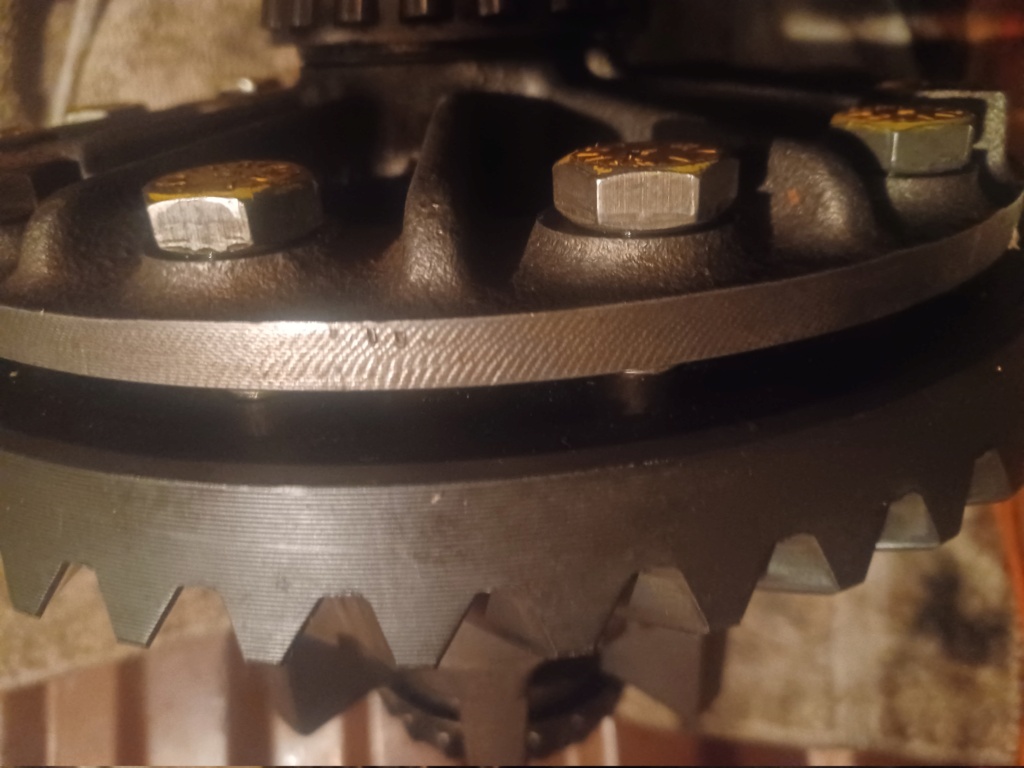
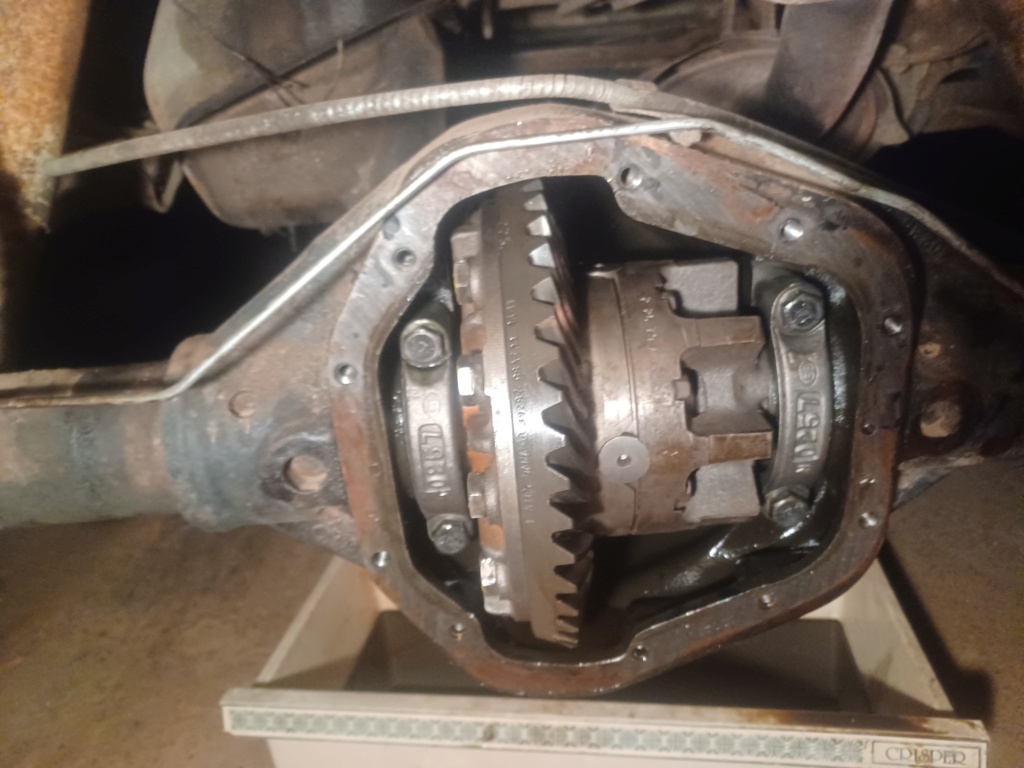
All Parts Cleaned and Re-Inspected.
Ring Gear Loctited to New Detroit Locker Carrier.
Carrier Cap, Bolts and Bearing Races Cleaned.
Carrier Re-Inserted {Was Not as Bad as I Thought it would be, Still Have Ten Working Fingers Left, LoL).
Backlash Same as Before.
Carrier Cap Bolts Loctited and Torqued.
Next Clean and RTV Cover, Re-Install Axles. Add Oil, Done!
Do A Two Wheel Burnout for Test Purposes ONLY.


supervel45- Posts : 4498
Join date : 2013-09-04
BigBlockRanger and Mark Miller like this post
supervel45- Posts : 4498
Join date : 2013-09-04
BigBlockRanger and Mark Miller like this post
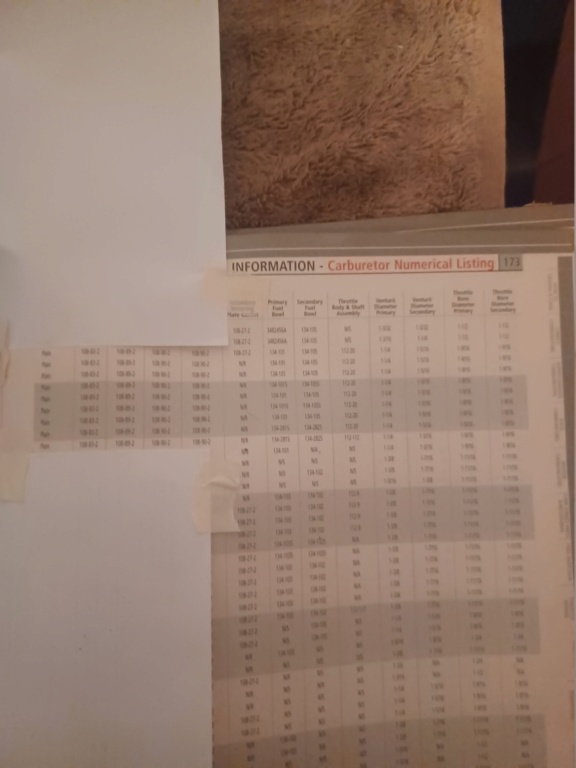
 Why I Chose Holley List#9834's 600VS's Over List#1850's 600VS's
A Few Reasons. One is because of How Well They Performed on My Ford V8's Small and Big Block as a Singe Quad.
1. More Emissions {Lean} Calibrated Primary Metering Block.
2. More Emissions Calibrated Secondary Metering Plate. #39 Vs. #9. .029" IFR Vs. .031".
3 Electric Choke For The Primary Carburetor. (Rear Carburetor on My Setup) as The 427 FE's Had.
^ Note I Run Mine Facing Forward Though.
4. Ford A/T Kickdown Lever. A Bracket Can Be Fabbed and The OEM Kickdown Rod Modded to Hookup Directly to The Holley Lever on The Rear Carburetor. It Could Also be Tied into The Quad Linkage if You Made a Semi-Circle Adaptor. I am Working on That. Soon to Come after a Little More Rat Killing on Loose Ends.
5. Not Really and Advantage but, Starting Out with The Stiffed Secondary Spring Holley Makes {Black} is Nice Also.
On Mine I went to 66 Primary Jets and Green Pump Cams {Very Fast High Lift Shot} so They Turn on Hard.
6. Early 1850's Have a .025" Accelerator Pump Shooter, {Not Enough Gas for a BBF) 9834's Have a .031" and is About Right.
The Way I Have Mine Setup Now The Rear Carburetor is the Primary and I have about 1/2" to 5/8" Slack Until The Secondary Carburetor is Engaged.
Also My Throttle Spring is Hooked to The Intake Manifold to The Primary Carburetor Throttle Arm.
The Factory Throttle Cable Also Has It's Own Return Spring.
What This Means, Is When I Open the Secondary Carburetor, It Has a Very Distinct Feel Through the Gas Pedal and It is Easy To Stay Out of Bringing in ON if You Can Control Your GO FOOT.
If You Needed More Pump Shot for Some Reason, You Could Put a 50cc Pump on The Secondary Carburetor, Like an 850 Double Pumper has on The Back Barrels. Mine Seems to do good with two 30cc Pumps So Far.

1. More Emissions {Lean} Calibrated Primary Metering Block.
2. More Emissions Calibrated Secondary Metering Plate. #39 Vs. #9. .029" IFR Vs. .031".
3 Electric Choke For The Primary Carburetor. (Rear Carburetor on My Setup) as The 427 FE's Had.
^ Note I Run Mine Facing Forward Though.
4. Ford A/T Kickdown Lever. A Bracket Can Be Fabbed and The OEM Kickdown Rod Modded to Hookup Directly to The Holley Lever on The Rear Carburetor. It Could Also be Tied into The Quad Linkage if You Made a Semi-Circle Adaptor. I am Working on That. Soon to Come after a Little More Rat Killing on Loose Ends.
5. Not Really and Advantage but, Starting Out with The Stiffed Secondary Spring Holley Makes {Black} is Nice Also.
On Mine I went to 66 Primary Jets and Green Pump Cams {Very Fast High Lift Shot} so They Turn on Hard.
6. Early 1850's Have a .025" Accelerator Pump Shooter, {Not Enough Gas for a BBF) 9834's Have a .031" and is About Right.
The Way I Have Mine Setup Now The Rear Carburetor is the Primary and I have about 1/2" to 5/8" Slack Until The Secondary Carburetor is Engaged.
Also My Throttle Spring is Hooked to The Intake Manifold to The Primary Carburetor Throttle Arm.
The Factory Throttle Cable Also Has It's Own Return Spring.
What This Means, Is When I Open the Secondary Carburetor, It Has a Very Distinct Feel Through the Gas Pedal and It is Easy To Stay Out of Bringing in ON if You Can Control Your GO FOOT.
If You Needed More Pump Shot for Some Reason, You Could Put a 50cc Pump on The Secondary Carburetor, Like an 850 Double Pumper has on The Back Barrels.


supervel45- Posts : 4498
Join date : 2013-09-04
 Holley 9834 Vs 1850 600VS for Dual Quads Continued
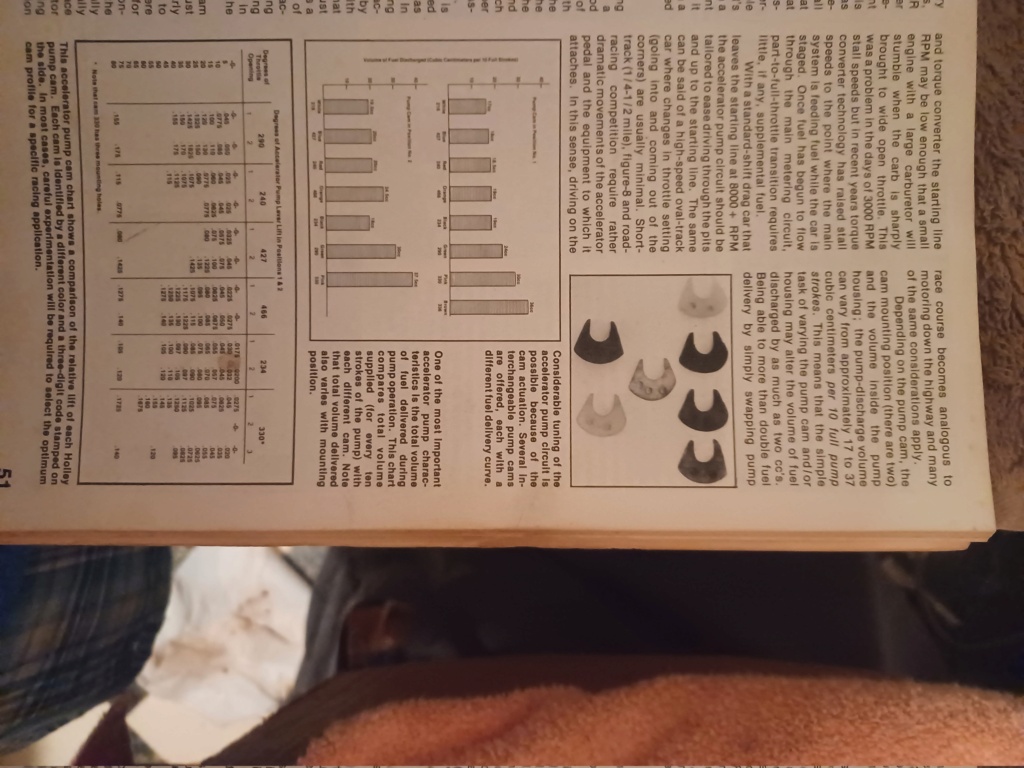
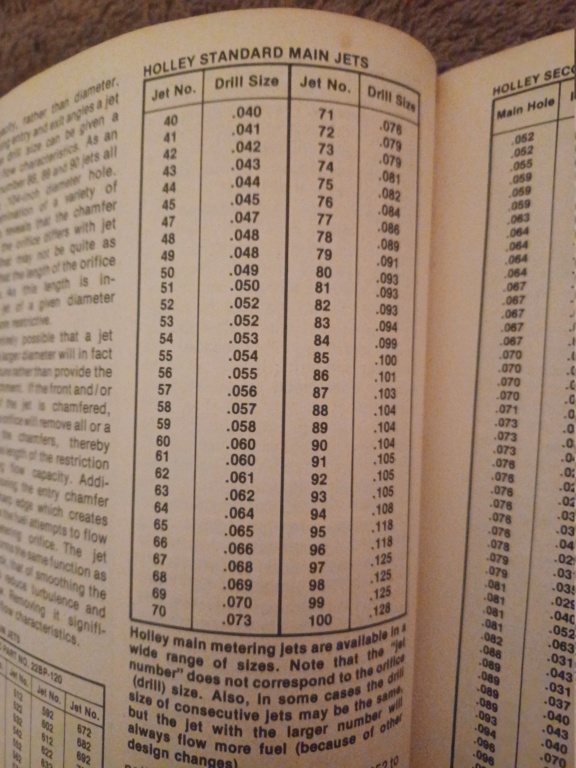
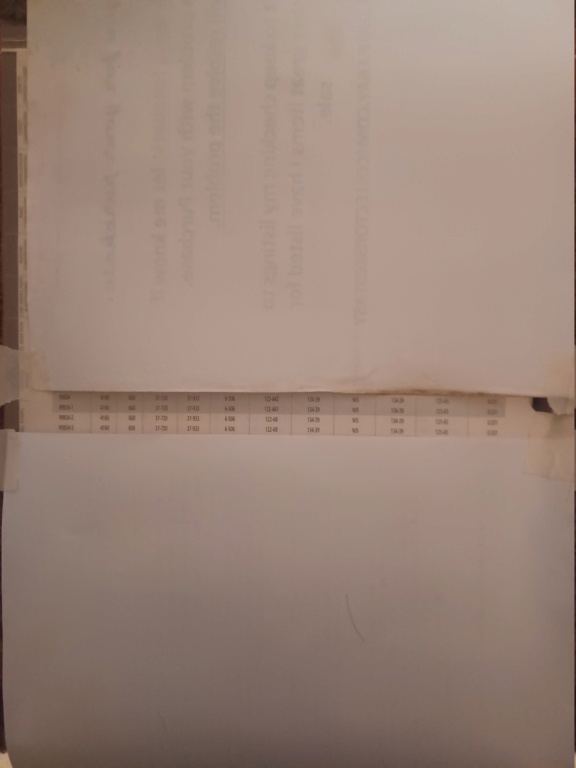
I Retook The Book Spec. Shot. Hopefully This Came Out Better (Readable).

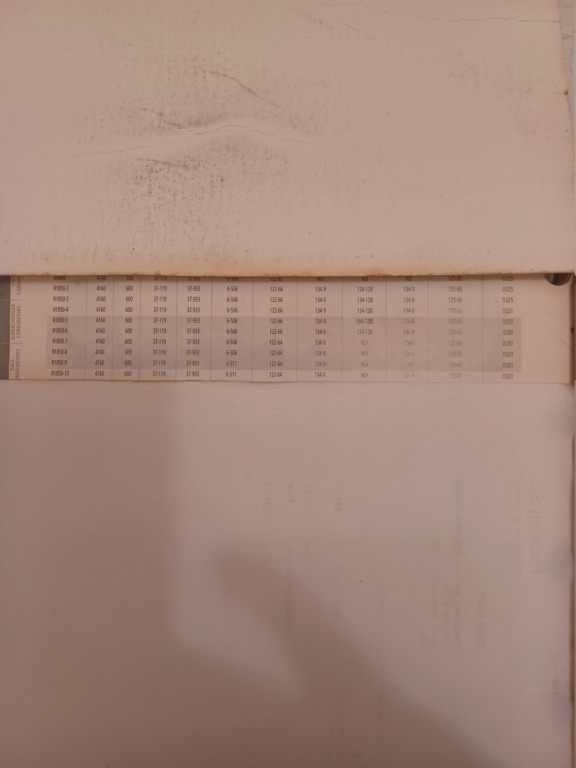
And a Shot of The Page Header to See What You are Looking At.
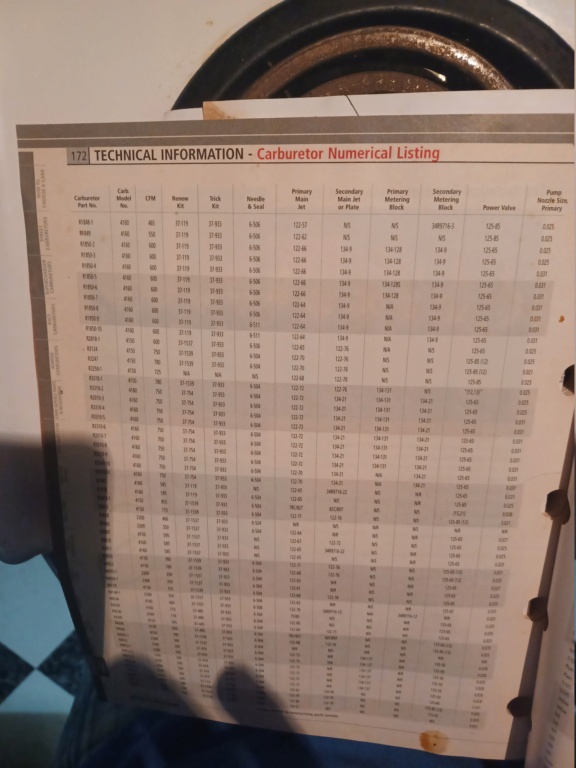
7. If You Payed Very Very Close Attention, You will Also Notice the 9834's Secondary Metering Plate Also Comes with a .073" Main Jet Feed Vs. The 1850's .067" Main Jet Hole. That's a Giant Plus in My Book!


And a Shot of The Page Header to See What You are Looking At.

7. If You Payed Very Very Close Attention, You will Also Notice the 9834's Secondary Metering Plate Also Comes with a .073" Main Jet Feed Vs. The 1850's .067" Main Jet Hole. That's a Giant Plus in My Book!
supervel45- Posts : 4498
Join date : 2013-09-04
 Re: Cristine's Nightmare
Day Light Shot of The Dana 70U Completed. 
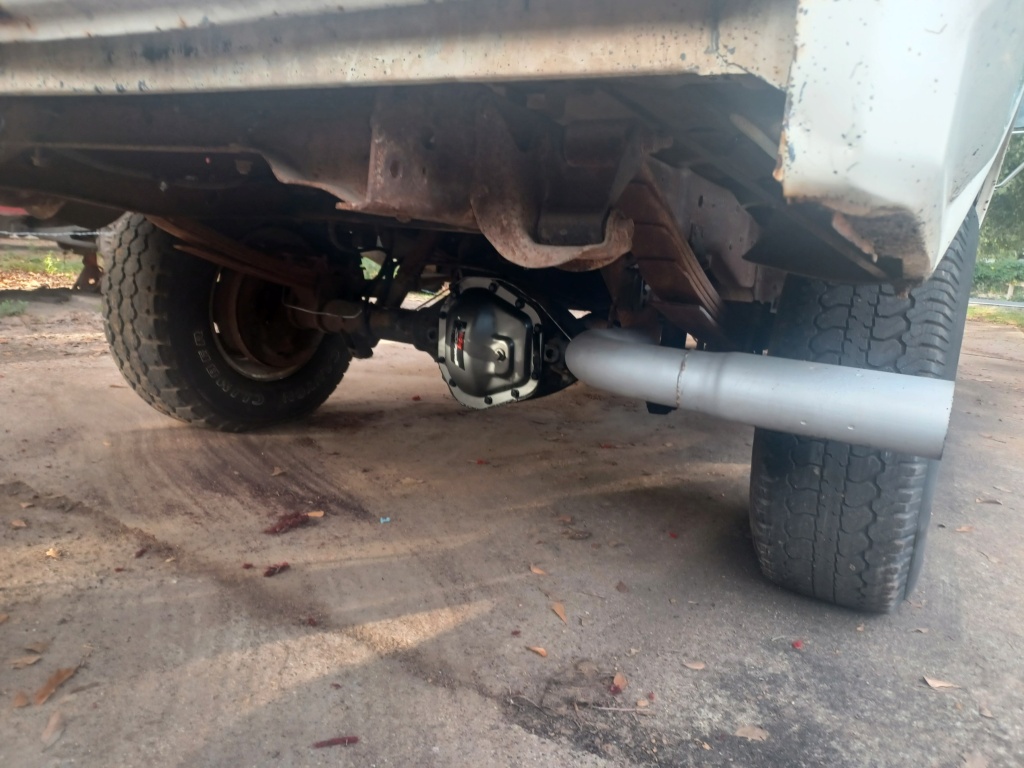
Wish in One Hand and Nasty Dana Oil in The Other

https://www.etsy.com/listing/1464921513/neon-yellow-scrunch-butt-bikini-bottoms?ga_order=most_relevant&ga_search_type=all&ga_view_type=gallery&ga_search_query=flag+scrunch+butt&ref=sr_gallery-3-39&frs=1&sts=1&organic_search_click=1
Believed It!
https://www.youtube.com/watch?v=uqUa_G1h3pw

Wish in One Hand and Nasty Dana Oil in The Other

https://www.etsy.com/listing/1464921513/neon-yellow-scrunch-butt-bikini-bottoms?ga_order=most_relevant&ga_search_type=all&ga_view_type=gallery&ga_search_query=flag+scrunch+butt&ref=sr_gallery-3-39&frs=1&sts=1&organic_search_click=1
Believed It!
https://www.youtube.com/watch?v=uqUa_G1h3pw
supervel45- Posts : 4498
Join date : 2013-09-04
 Higher Stall Convertor Time for "Christine's Nightmare"
The Kin Folk's Said "Super You Should Get Rid of Those Old Trucks, Nobody Want's Them Anymore or The Go Fast Parts". And That "No Good for Nothing Sports Car" Too.
Super Say's, "Sure Thing, I will Get Right On It"---"Can I Mind Your Business For You?"
Anyway's Found This "Junk" Buried Around "Somewhere" Near.
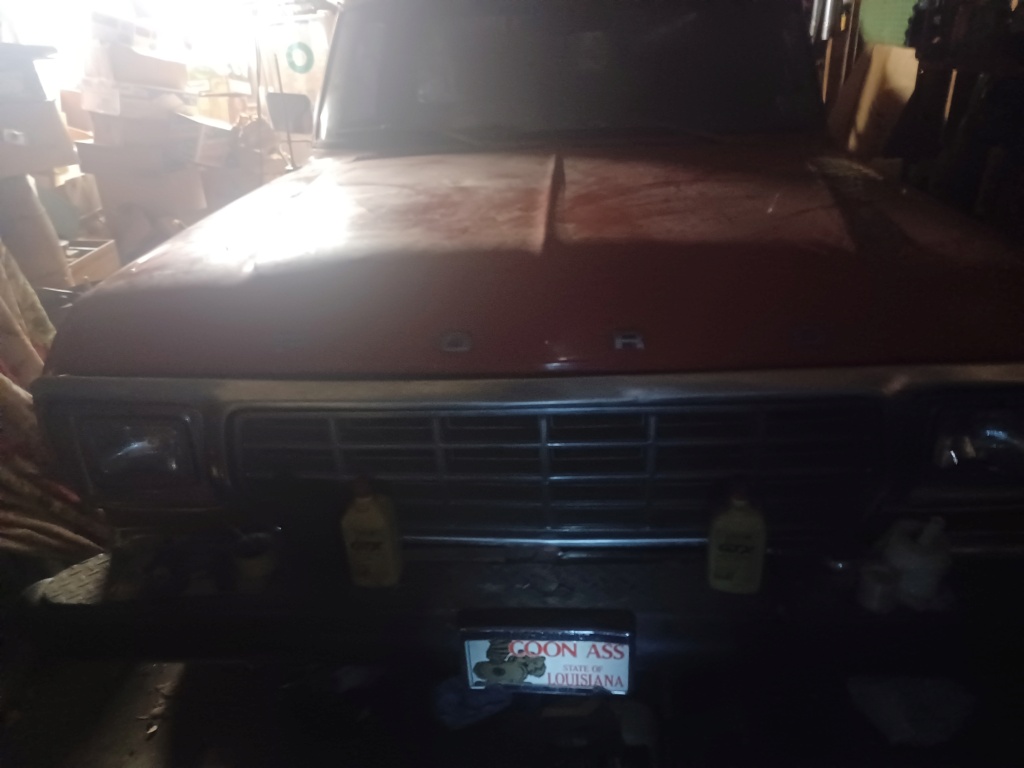
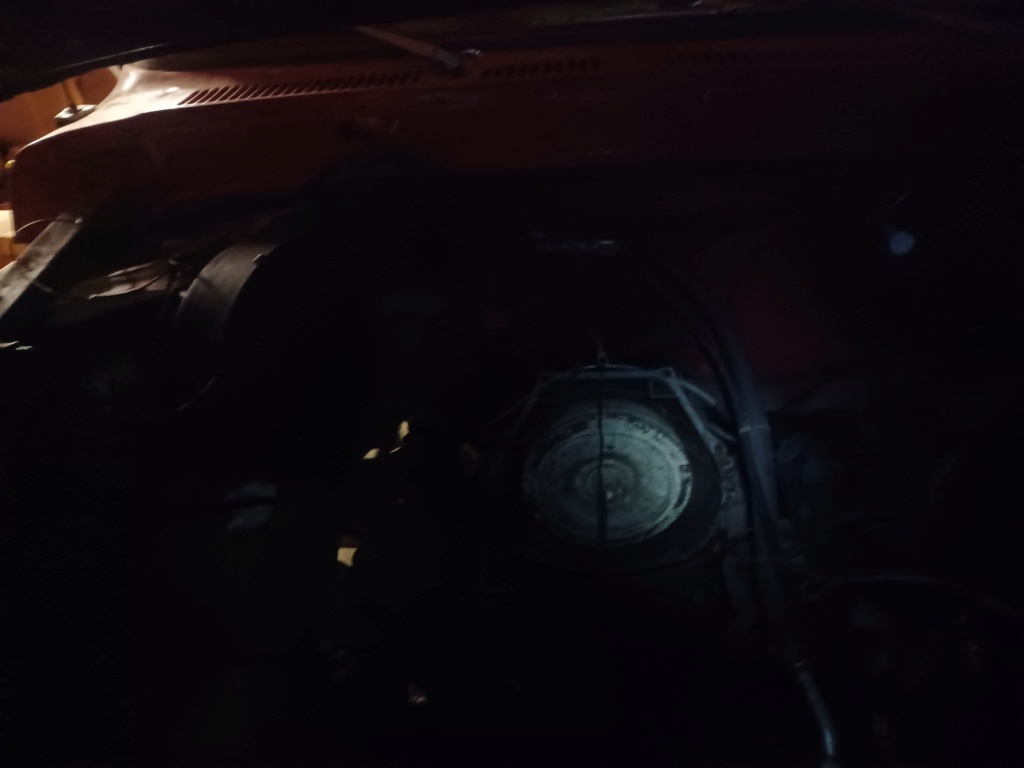
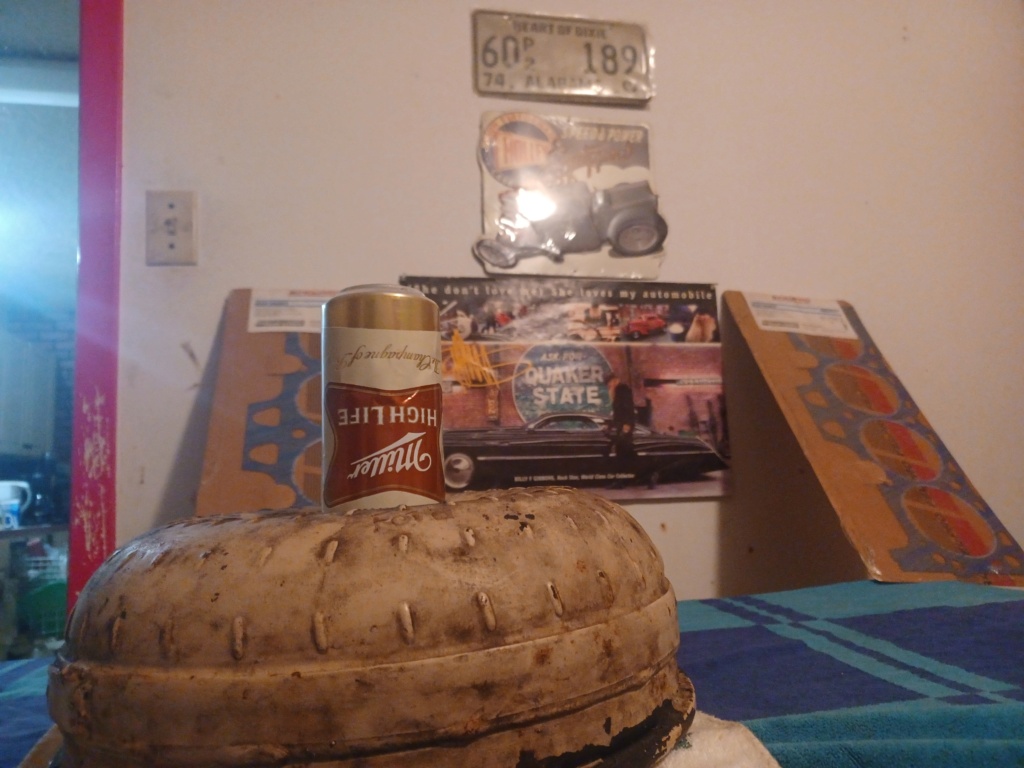
I Thought I Lost It when I Looked in what I thought was it's spot. Then I remembered It's 2,200 RPM Little Brother went in another Truck, when I Looked in the other Convertor Stash Place and Found a Third "Stock" C6 Convertor. Only One Other Place it May Have Gone, Bingo.
Might Do a U-Joint or Two While It's Apart. No Carrier Bearing on This Long Bed so I Guess That is One Less U- Joint to Replace is a Good Thing.
The Convertor is a Robert Brittains, of Brittians Parts Service in H-Town {Berry Rd.}. I have Had it about 3 Decades and Put Countless Bottle's of Nitrous To It, in a 5k Pound 429 Truck. No Problems Yet.
The Convertor is a 12" with Brazed Fins. It Stalled at 2,800 Behind the Low Compression Mild 429 with 3.5 Gears.
The Head Gaskets I Found in the So Called "Junk Pile" are FelPro 8265 PT-1. They Show 429/460 on The Label.
I Guess According to "Everybody" I Should Just Throw it All Out for Garbage Pickup!!!

We Gonna Have To Break Out Some Texas Top for This Job. As In ZZTOP.
https://www.youtube.com/watch?v=SGW4qMUysAQ
https://www.youtube.com/watch?v=nNC-BtsLFdQ
ROCK ON Gentleman

Super Say's, "Sure Thing, I will Get Right On It"---"Can I Mind Your Business For You?"

Anyway's Found This "Junk" Buried Around "Somewhere" Near.


I Thought I Lost It when I Looked in what I thought was it's spot. Then I remembered It's 2,200 RPM Little Brother went in another Truck, when I Looked in the other Convertor Stash Place and Found a Third "Stock" C6 Convertor. Only One Other Place it May Have Gone, Bingo.
Might Do a U-Joint or Two While It's Apart. No Carrier Bearing on This Long Bed so I Guess That is One Less U- Joint to Replace is a Good Thing.
The Convertor is a Robert Brittains, of Brittians Parts Service in H-Town {Berry Rd.}. I have Had it about 3 Decades and Put Countless Bottle's of Nitrous To It, in a 5k Pound 429 Truck. No Problems Yet.
The Convertor is a 12" with Brazed Fins. It Stalled at 2,800 Behind the Low Compression Mild 429 with 3.5 Gears.
The Head Gaskets I Found in the So Called "Junk Pile" are FelPro 8265 PT-1. They Show 429/460 on The Label.
I Guess According to "Everybody" I Should Just Throw it All Out for Garbage Pickup!!!

We Gonna Have To Break Out Some Texas Top for This Job. As In ZZTOP.
https://www.youtube.com/watch?v=SGW4qMUysAQ
https://www.youtube.com/watch?v=nNC-BtsLFdQ
ROCK ON Gentleman
supervel45- Posts : 4498
Join date : 2013-09-04
 Christine Gets A Rear Bumper on a Budget From the Pile
Torque Convertor Put Off Until at Least Monday. I Don't Like (I Have in the Past) Fight C6's By Myself. Coming Down, No Problem.
Stabbing Back in is a Little More Difficult. Even With The Custom Homemade Trans Plate Floor Jack Adaptor. Sure it can be done with a One Man Show, but, Why if You Don't Have To.
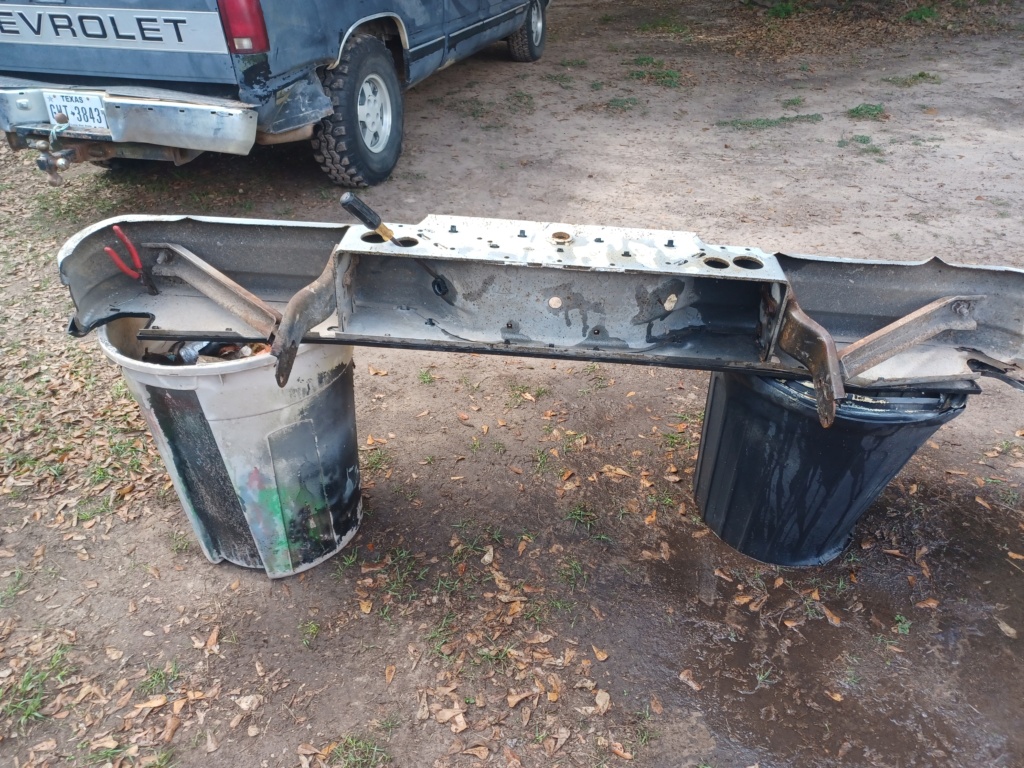
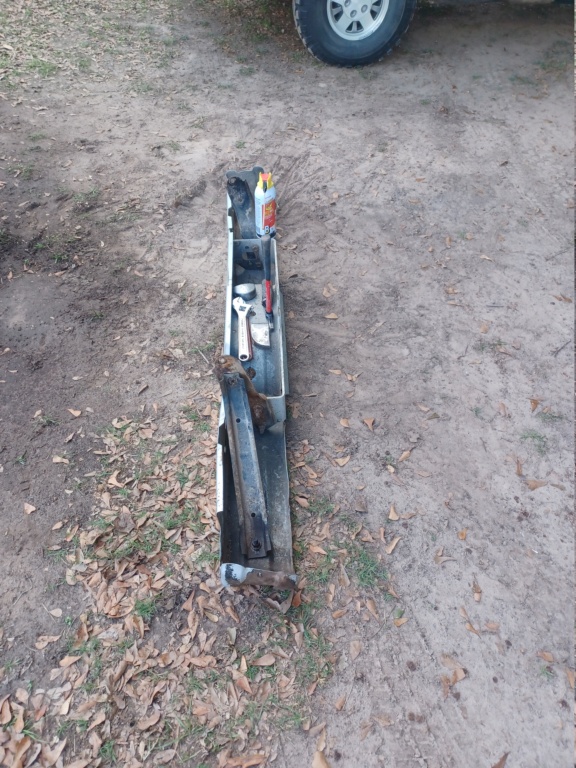
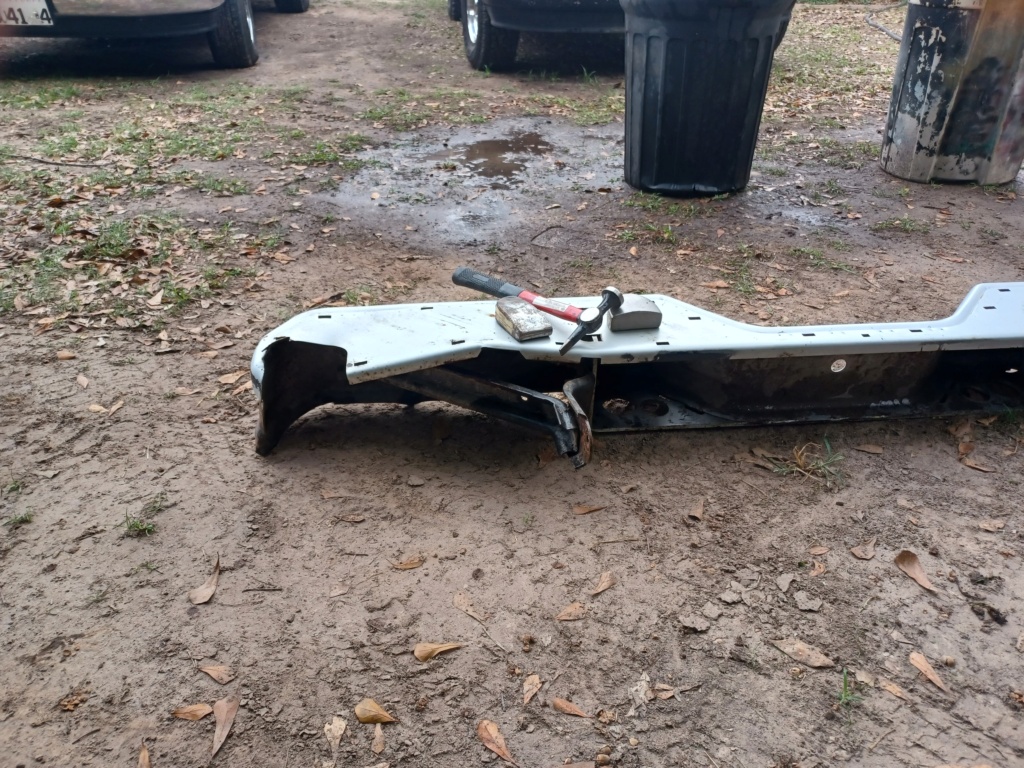
Here's the Bent Ford Painted with Molding Junk I Started with For the Bumper Project. Cool Neighbor Let Me Borrow his Chine Dolly Kit, So I Would Not Have to Hunt for Mine for How no telling How Long.
I Only Bled Once an tore a bad gash a Tad. So Considered The Major Beating the Bumper Received to Get Halfway Straight, That's Not Bad and About the Norm Duking it Out with These Rusty Muddy Old Trucks.
Stabbing Back in is a Little More Difficult. Even With The Custom Homemade Trans Plate Floor Jack Adaptor. Sure it can be done with a One Man Show, but, Why if You Don't Have To.
Here's the Bent Ford Painted with Molding Junk I Started with For the Bumper Project. Cool Neighbor
I Only Bled Once an tore a bad gash a Tad. So Considered The Major Beating the Bumper Received to Get Halfway Straight, That's Not Bad and About the Norm Duking it Out with These Rusty Muddy Old Trucks.


Last edited by supervel45 on October 29th 2023, 6:07 pm; edited 3 times in total
supervel45- Posts : 4498
Join date : 2013-09-04
Page 1 of 3 • 1, 2, 3 
Page 1 of 3
Permissions in this forum:
You cannot reply to topics in this forum
