Project EconoTow
+28
Bigred69
460pulling
jeffgfg
dave d
fatal addiction
maverick
cool40
Dave C.
Mike R
QtrWarrior
bigblok2000ranger
jbozzelle
69F100
jasonf
bruno
res0rli9
prosandguy
dfree383
bbf-falcon
72mav
schmitty
bosshoss
richter69
Lem Evans
lghting94
61coon
DILLIGASDAVE
Doug Rahn
32 posters
Page 5 of 9
Page 5 of 9 •  1, 2, 3, 4, 5, 6, 7, 8, 9
 Re: Project EconoTow
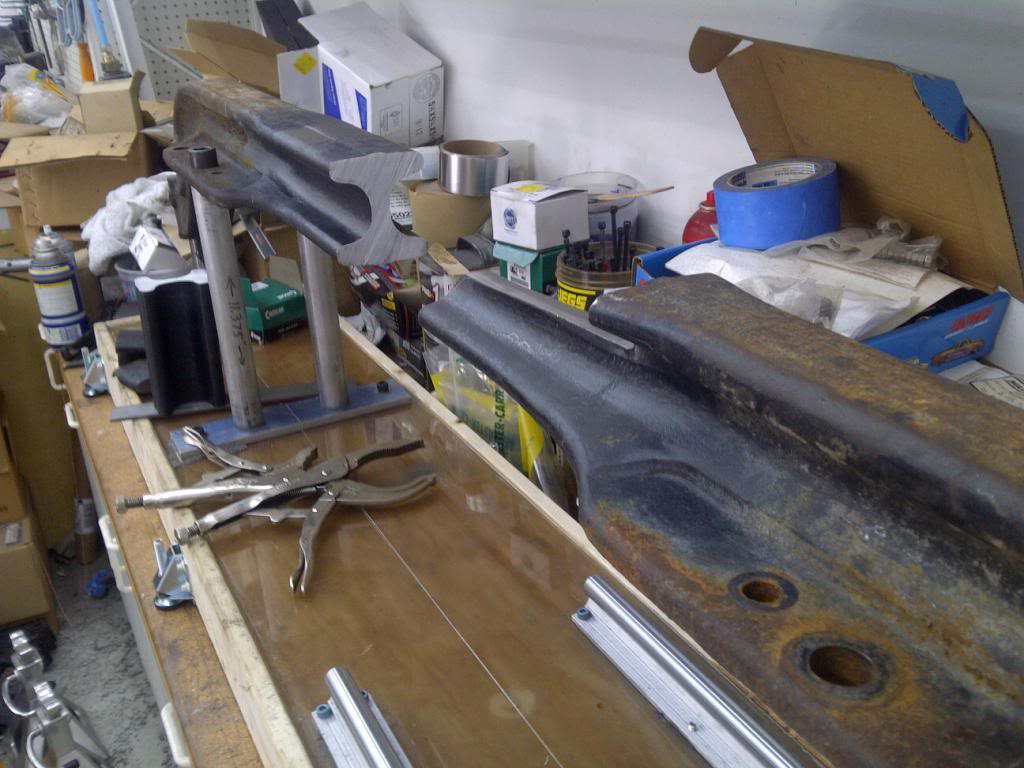
I started cutting on the axle this morning until it got to hot. I think while I'm off next week, I'm going to see about getting some AC in my shop.


 Re: Project EconoTow
Doug Rahn wrote:DILLIGASDAVE wrote:What's the straight drop axle's built-in camber angle vs something like an early or later model twin I beam?
Don't know, but I did consider the twin I beam deal. Way more work than what I'm doing now. Mono I beam is about a simple as it gets.
You'll probably like your straight axle deal better than Twin I Beam anyway...probably much easier to keep a set of front tires for more than 6 months.

maverick- BBF CONTRIBUTOR

- Posts : 3059
Join date : 2009-08-06
Age : 72
 Re: Project EconoTow
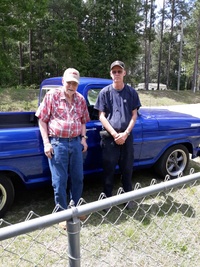
I went out to the shop first thing this morning and finished fitting the two halves together. After the final fit I crossed my fingers and used both of my digital levels to verify each other and the king pin caster and camber angles didn't change when it was slid in together:D . I shot a short video of it in operation just for fun.


 Re: Project EconoTow
shop a/c is a must. one reason im glad my shop is smaller, easy to cool......

richter69- Posts : 13649
Join date : 2008-12-02
Age : 53
Location : In the winners circle
 Re: Project EconoTow
richter69 wrote:shop a/c is a must. one reason im glad my shop is smaller, easy to cool......
No foolin. I have an A/C unit for my garage...too hot out there to install it, tho.
Pretty slick work there, Doug.

maverick- BBF CONTRIBUTOR

- Posts : 3059
Join date : 2009-08-06
Age : 72
 Re: Project EconoTow
I agree pretty slick indeed 
69F100- BBF CONTRIBUTOR

- Posts : 5386
Join date : 2009-01-04
Age : 57
Location : Irwinville Ga.
 Re: Project EconoTow
I got the two halves welded back together and the top splice plate tacked on. Top plate is serving two purposes, to beef up the welded joint and also let me relocate the holes for the spring "U" bolts. I had to quit early today, my auto darkening helmet is not working like it should. I'm surprised it has lasted this long, it's over 15 yrs. old.


 Re: Project EconoTow
Nice work looks like a fun build.. def bad ass..

fatal addiction- Posts : 433
Join date : 2010-03-01
 Re: Project EconoTow
Doug Rahn wrote:I got the two halves welded back together and the top splice plate tacked on. Top plate is serving two purposes, to beef up the welded joint and also let me relocate the holes for the spring "U" bolts. I had to quit early today, my auto darkening helmet is not working like it should. I'm surprised it has lasted this long, it's over 15 yrs. old.
I understand about the helmet thing I have had my old Jackson for 18 years replaced the filter lens one time and upgraded it to a adjustable shade filter. I have tried the newer ones like the Speedglass and Miller but always go back to the Jackson I guess after you get used to one it hard use a regular helmet or it is for me.
Looks great it should be stronger than it was.

69F100- BBF CONTRIBUTOR

- Posts : 5386
Join date : 2009-01-04
Age : 57
Location : Irwinville Ga.
 Re: Project EconoTow
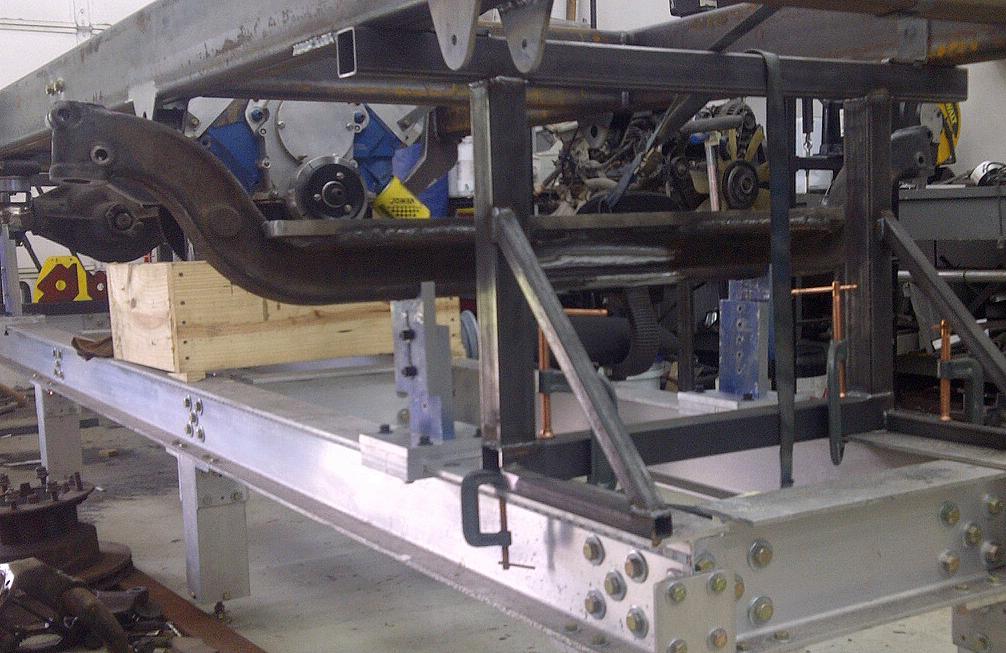
Today I finished up the fixture jig points for the front axle and at least got the axle in the fixture. That bad boy is heavy  Tomorrow I'll spend some time taking lots of measurements to get it lined up correctly, then weld up some brackets to hold it in place just in case it gets bumped. Very similar to what I did for the rear axle and engine. Once I get it locked down then I can order the custom leaf springs.

 Re: Project EconoTow
Gonna be cool to see that thing rolling around on wheels !

dfree383- BBF CONTRIBUTOR

- Posts : 14851
Join date : 2009-07-09
Location : Home Wif Da Wife.....
 Re: Project EconoTow
I went out to the shop this morning to finished locating and locking the axle in place with some temporary bracing and to do some seriously needed clean up  . I also temporarily install one of the spindles, hub. and brake rotor to see how the front track compared to the rear. It's exactly how I wanted it, looks like all the time I spend on the CAD drawings paid off. After I finished cleaning up I sat down in my shop recliner
  and starting thinking about the front leaf springs and then I started thinking about air springs on the front too
  . Leaf springs would be the easy way and cheaper but the air springs would sure would give a better ride. I'll have to do some more research and give this some serious thought
  .
.


 Re: Project EconoTow
Update Please !!!! Oh and about the front air bags....some of the big rig boys remove all but 1 leaf and then mount an air bag for the ride. The leafs keep the front axle in place. I don't know if it's really that simple but a lot of truckers are doing it. Yeah and could you hurry up with this project I can't wait months for updates. Thanks.
jeffgfg- Posts : 338
Join date : 2010-02-06
 Re: Project EconoTow
I wasn't going to post anything new until I completed the mockup on the front suspension, but here's a sneak peek. It takes time a money to build something like this, especially the money part. I pay cash for everything! I've seen the single leaf setup myself but then I would not have the ability for the truck to squat lower and make it easier to get in and out of. With the big 19-1/2" wheels and 32" tall tires she's going to be pretty high, you know how us old guys arejeffgfg wrote:Update Please !!!! Oh and about the front air bags....some of the big rig boys remove all but 1 leaf and then mount an air bag for the ride. The leafs keep the front axle in place. I don't know if it's really that simple but a lot of truckers are doing it. Yeah and could you hurry up with this project I can't wait months for updates. Thanks.
Takes time to make brackets like these. Lower holes are at an 18* angle, I had to build a fixture to drill that and weld the bungs on for added thickness. The upper bar in this photo I borrowed from the rear, they're almost the same length, plus I haven't order the rod ends for the front yet. $700 for eight rod ends, tube adapters to weld to the bars. high misalignment spacers, and jam nuts, one of those expenses I was talking about earlier. This is a cash only build

There will be more webbing between longer and shorter bracket for added rigidity.

Worked on the lower air spring brackets today.


 Re: Project EconoTow
Do you have link for the rod ends..
Are the bars cm or ms..
Are the bars cm or ms..
res0rli9- BBF CONTRIBUTOR

- Posts : 3352
Join date : 2008-12-02
Age : 74
Location : sarasota FL.
 Re: Project EconoTow
I'm using MS 2" OD with .250" wall thickness.res0rli9 wrote:Do you have link for the rod ends..
Are the bars cm or ms..
These guys cater to the Off Road/Rock Crawler crowd and they offer packages so you don't have to buy pieces individually.
http://www.bluetorchfab.com/Category/33/Rod-Ends-Hardware.aspx
http://www.filthymotorsports.com/heim_joints_s/71.htm
 Re: Project EconoTow
Thanks for the update !!!! Personally I wouldn't care if you showed us just a new hole you drilled. I think this is possibly the coolest thing and can't wait to see it on the ground!! I understand about the money.......But we all want to see any progress, so keep us posted!!! Thanks again!!!
jeffgfg- Posts : 338
Join date : 2010-02-06
 Re: Project EconoTow
Air springs for the front came this week, rated at 5000lbs each and 600psi. I fabricated the brackets for the drivers side but I'm going to wait for the tie rod assembly and drag link for the steering box are delivered before I go any further. The drag link clearance will be okay but I have to make sure the tie assy. will clear the bottom of the bracket before I make the one for the other side. I'm also going to order 2 more of these air springs and change up the rear brackets to get the clearance I need. I love the idea of the 5000lb capacity all the way around, 20,000  .
.


Flipped the rear bracket over and drilled some new holes, still have to add a little more bracing.


Flipped the rear bracket over and drilled some new holes, still have to add a little more bracing.

 Re: Project EconoTow
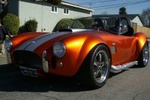
A little inspiration.


jasonf- BBF CONTRIBUTOR

- Posts : 2994
Join date : 2009-07-14
Age : 55
Location : Lafayette, LA
 Re: Project EconoTow
Sweet Rig I like IT

dave d- Posts : 809
Join date : 2009-12-22
Age : 65
Location : nwohio
 Re: Project EconoTow
Cooljasonf wrote:A little inspiration.
While I'm waiting for some parts for the front, I'm spending my long weekend mounting a Curt Class V hitch. To keep the frame tubing from collapsing when the bolts are torqued, I welded in some 1" tubing with 3/16" wall thickness from the top to the bottom. This hitch was made for the F-350, 450, and 550 and so the side plates would clear my axle location, I had to weld on some angle to the end of the frame, and shift it to the rear.


 Re: Project EconoTow
That is so sweet!! I can't wait to see it as a roller!! How are you going to fit those big wheels and tires in those little front wheel wells?? Keep up the great work!!
jeffgfg- Posts : 338
Join date : 2010-02-06
 Re: Project EconoTow
This thing just gets cooler as it goes
Mike R- Posts : 1381
Join date : 2009-08-05
Age : 63
Location : St Paul Mn
 Re: Project EconoTow
In my shop, with a sawsall, plasma torch, and BFH you can make just about anything fit.jeffgfg wrote:That is so sweet!! I can't wait to see it as a roller!! How are you going to fit those big wheels and tires in those little front wheel wells?? Keep up the great work!!
Page 5 of 9 •  1, 2, 3, 4, 5, 6, 7, 8, 9
Page 5 of 9
Permissions in this forum:
You cannot reply to topics in this forum